how to test a fuel pump fuse starts at the lid map: find the correct cavity, inspect the element, then prove continuity on a pulled fuse or battery voltage on both powered pads before you blame the relay or the pump. Keep the work order on the fuel pump fuse, separate opens from relay and wiring faults, and move to assembly quotes only after the power path is confirmed. For symptom patterns of an open fuse, use the lateral fuel pump fuse blown symptoms article instead of mixing lists into this procedure.
Safety Checks Before Testing a Fuel Pump Fuse
Ventilate the bay, keep ignition off when you pull fuses for continuity, and keep a fire extinguisher within reach when you work near gasoline vapor paths. Fuel-system electrical checks still sit next to flammable vapor; treat spills and open containers as fire risk.
Never “fix” a repeat blow by installing a higher-amp fuse. A larger fuse removes the sacrificial protection and can let harness insulation melt while the root short remains.
Important: Gasoline is a regulated flammable fuel in United States EPA gasoline-standards programs—keep ignition off for pull tests, ventilate, and stage a fire extinguisher before you probe near tank or under-hood vapor paths.
Wear eye protection when prying blade fuses, and support the box so terminals are not twisted. Damaged cavities create intermittent opens that look like “mystery” fuse failures on the next shift.
How to Locate the Fuel Pump Fuse
Use the fuse-box lid map or OEM service data for labels such as Fuel Pump, FP, or P/MP—never guess by blade color alone. Many platforms place the cavity in the under-hood fuse box / power distribution center; others use a cabin panel.
Write the cavity ID from the lid map onto the ticket before you mark “fuse open.” Sister cavities for injectors, ECM keep-alive, or ignition can sit one row away and waste a parts chase.
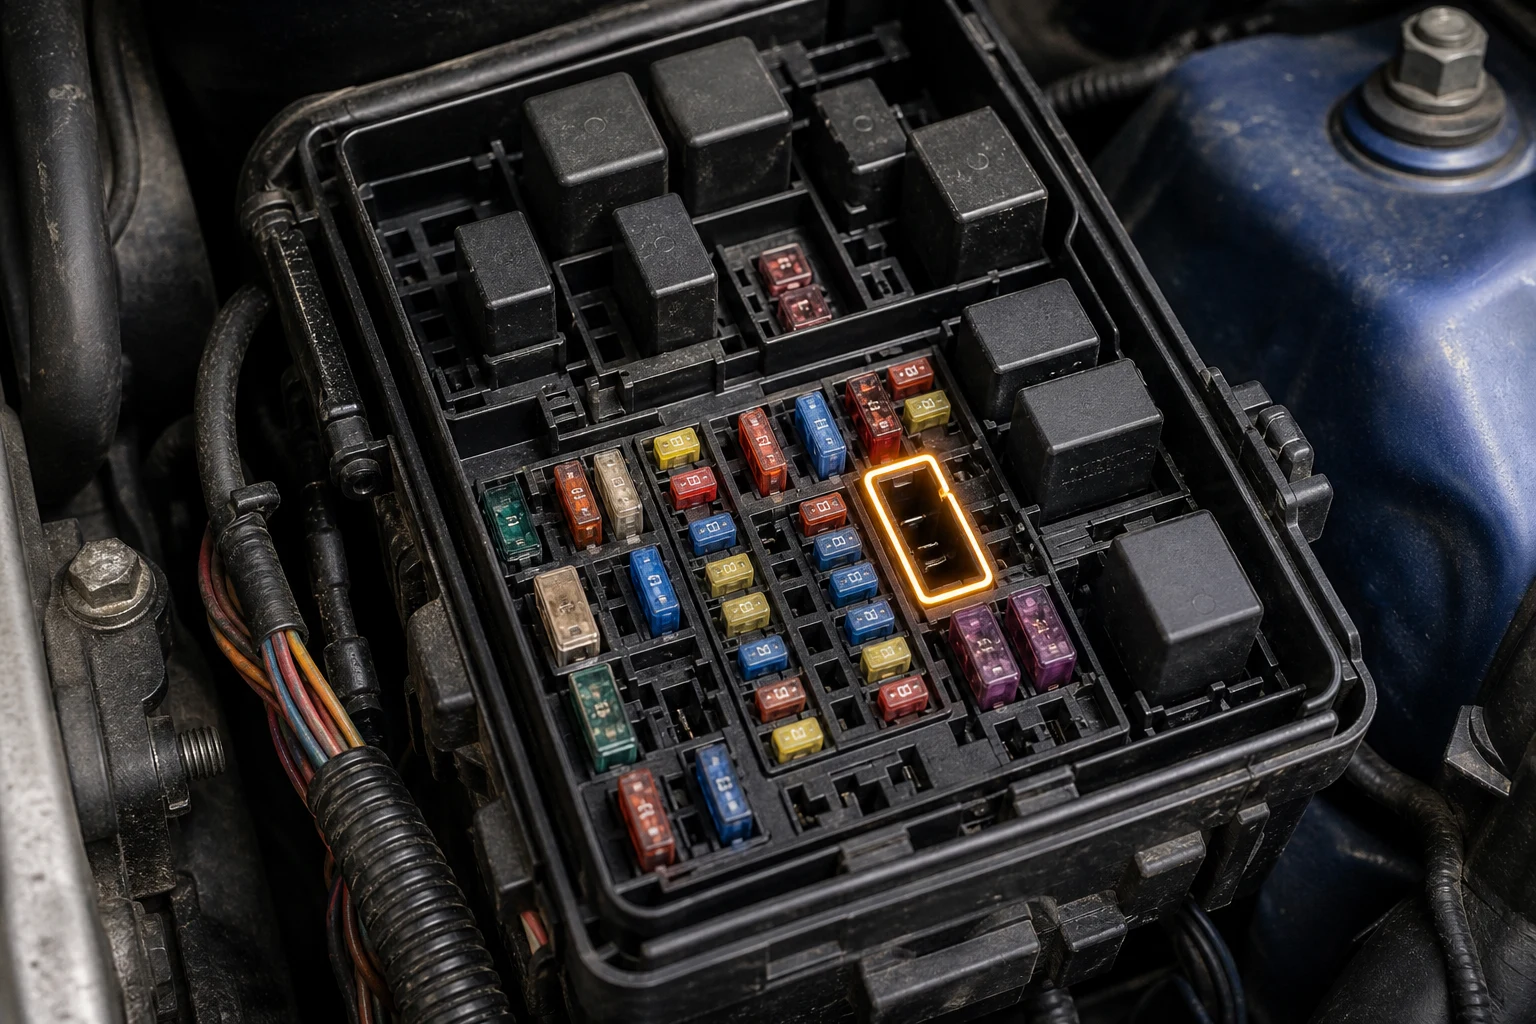
Missing lids force a trip to the owner’s manual cavity chart or the shop information system. Log cavity ID and printed amp rating found—not “yellow fuse near the relay.”
Silent tank on key-ON only starts the power-path screen; it does not authorize an automatic pump quote. The fuel pump electrical problems cluster covers the broader feed once this cavity is identified.
Visual Check: Is the Fuel Pump Fuse Blown?
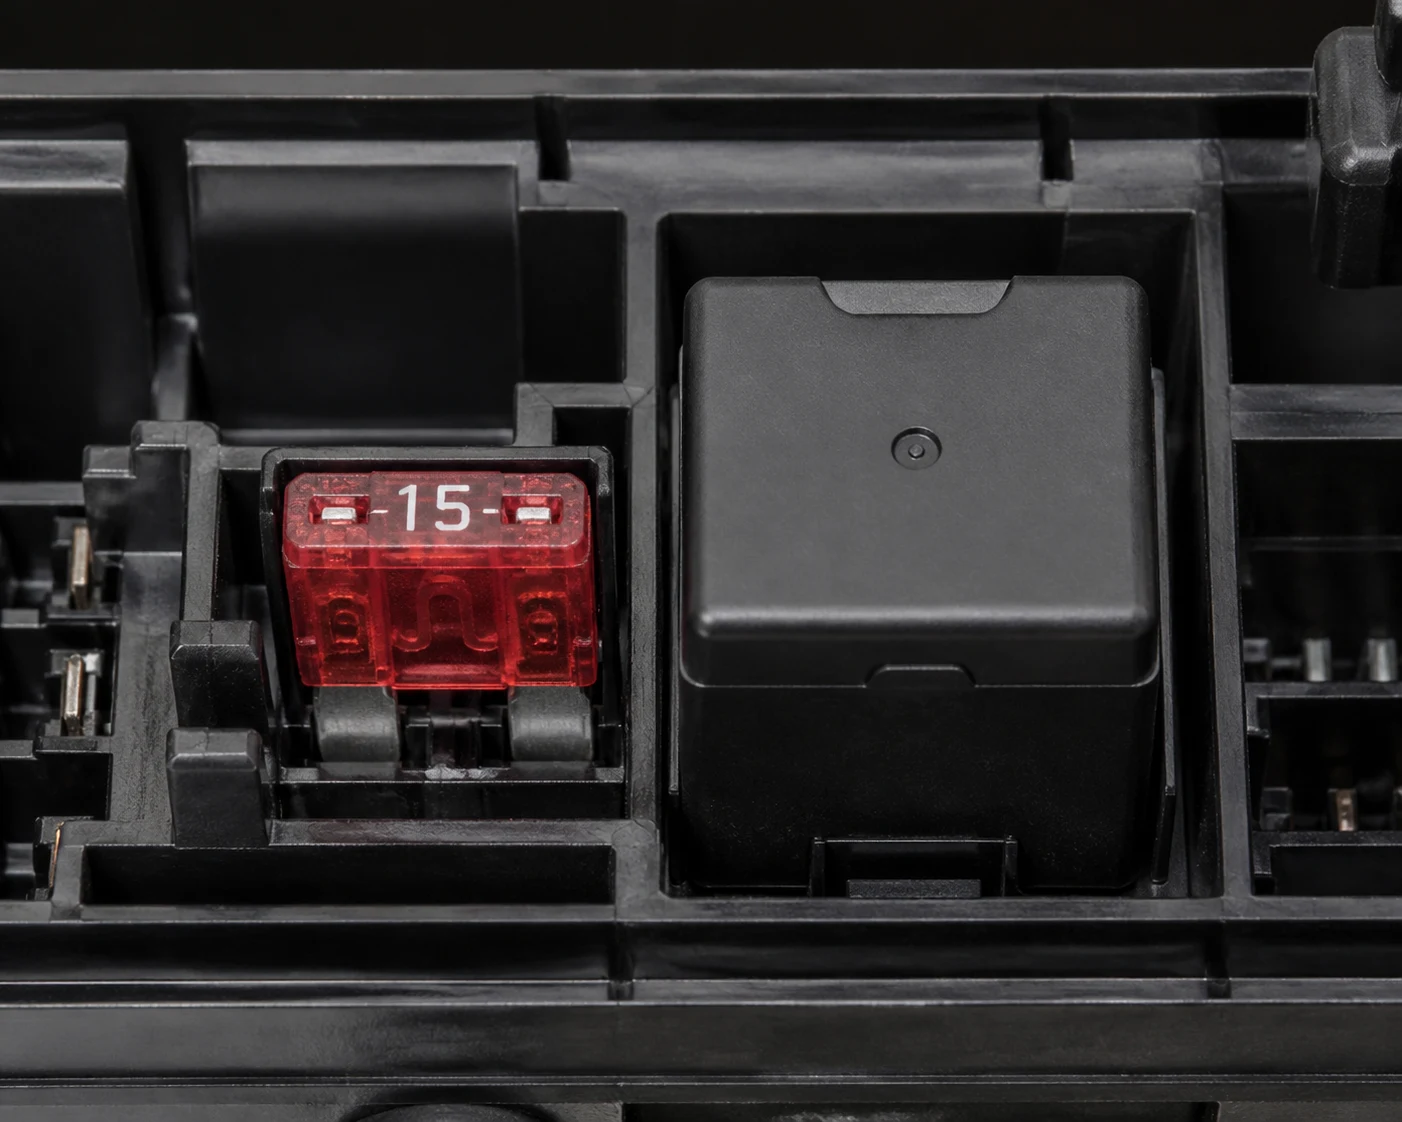
Look through the clear body for a broken filament, a cloudy interior, or a darkened/swollen case before you meter the part. Those visual cues often mean the sacrificial element already opened.
Hairline opens can look intact under shop lighting. If the filament looks continuous but the complaint is a silent prime, move straight to continuity or pad voltage instead of declaring the fuse good by eye.
| Visual clue | Likely meaning | Counter note |
|---|---|---|
| Intact, clear filament | Element may still be closed—confirm with meter | Do not stop at a glance |
| Broken or separated element | Fuse open | Record amp rating before replacement |
| Darkened or cloudy body | Overcurrent heat event | Inspect cavity terminals for heat damage |
| Swollen or cracked plastic | Violent overcurrent or poor contact heat | Check mating terminals before seating a new fuse |
The fuse is a sacrificial overcurrent link: once the metal element melts, the circuit stays open until you replace it at the same amp rating. Visual screening saves time, but the meter closes the case.
Tip: Never install a higher-amp fuse for the fuel pump circuit—match the lid or OEM amp marking only.
Continuity and Multimeter Tests for a Fuel Pump Fuse
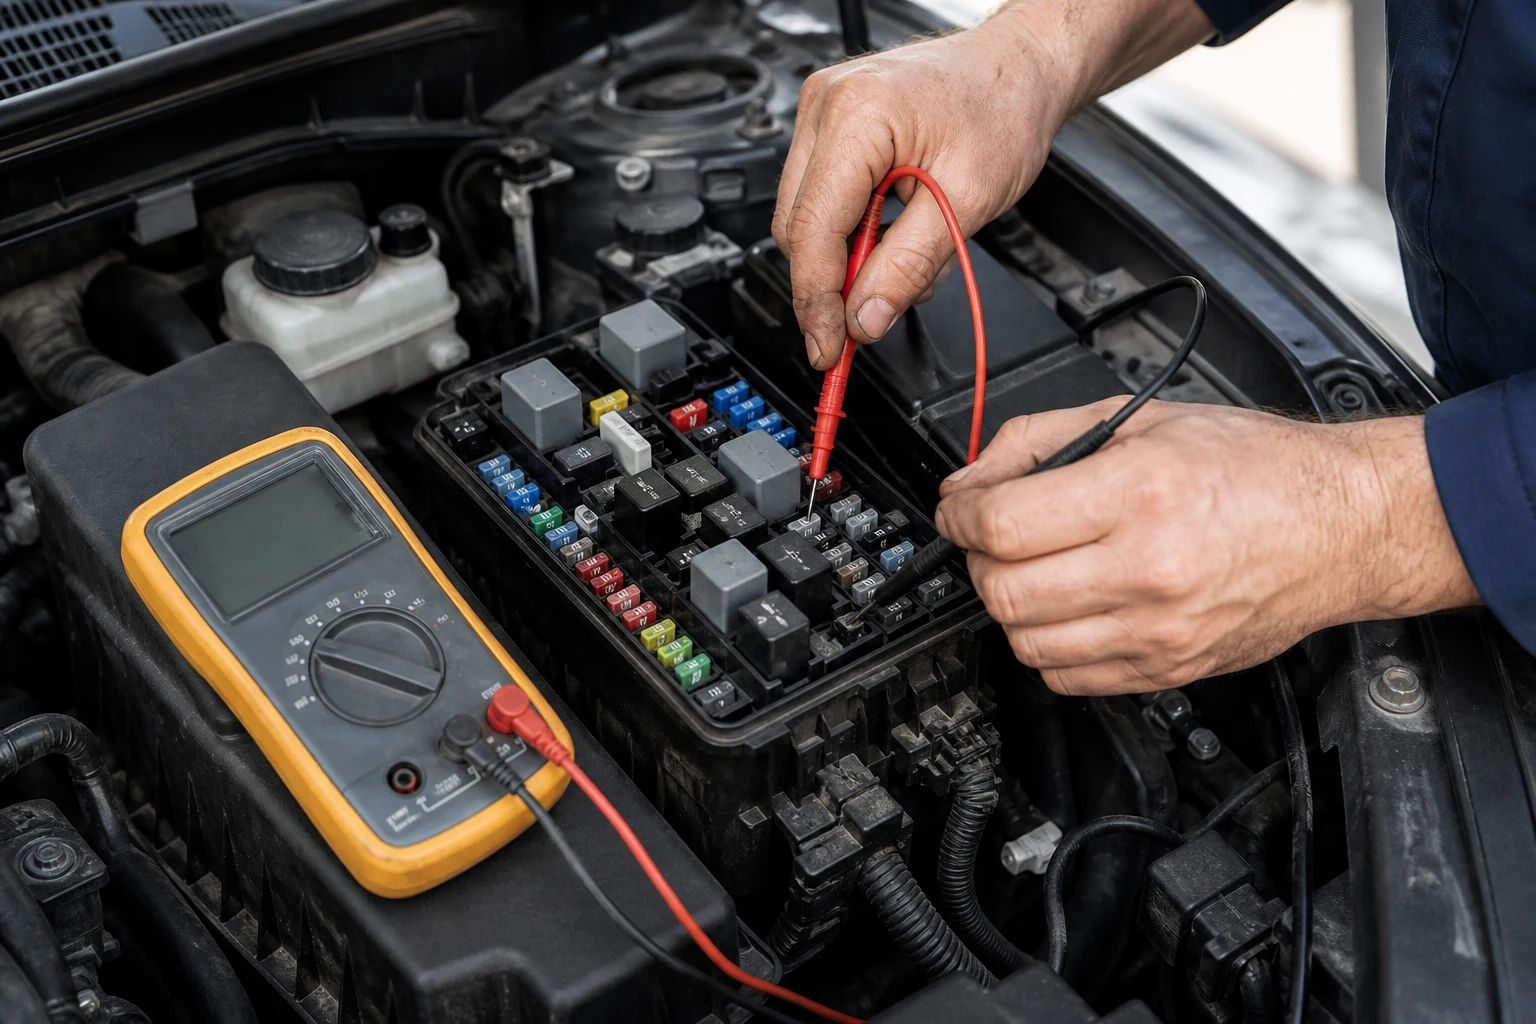
Meter checks for a fuel pump fuse use two reliable paths: a continuity / ohms test on a pulled fuse, or a voltage pad test on both top contacts while the circuit is energized. Shop forums stress pulling the fuse for ohms so you do not read a parallel path as a false “good.”
For continuity, set the meter to continuity or low ohms, remove the fuse, and touch one probe to each blade. A good fuse shows a beep or near-zero resistance; a blown fuse shows OL or open. That path covers how to test fuel pump fuse integrity without guessing from color alone.
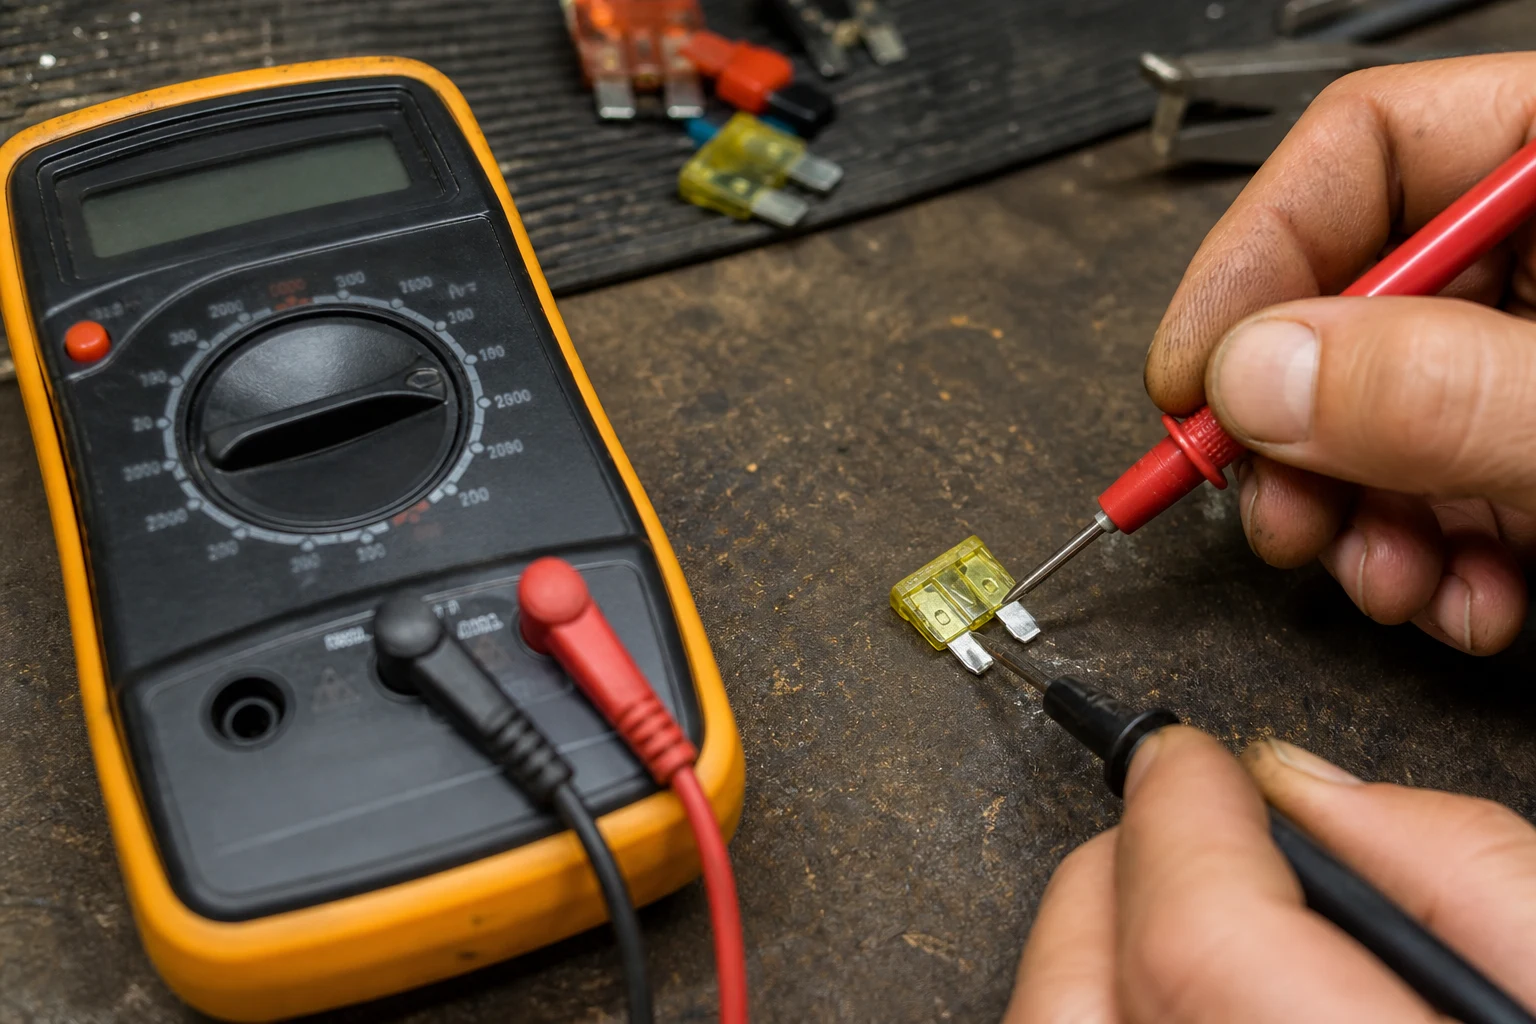
From the field: GarageJournal technicians warn that ohms checks on a fuse left in the box can read through parallel circuits—and risk the meter if voltage is still present—so pull first for continuity, or use a powered voltage/test-light check on both sides.
For the powered pad check, set the meter to DC volts and ground the black lead. Turn the key to ON, then probe each small metal test pad on top of the seated fuse. Both pads near battery voltage (about 12 V on a healthy 12-volt system) usually means the element is closed.
Voltage on one pad and zero on the other means the fuse is open. Zero on both pads points upstream of the fuse.
| Meter result | What it usually means | Next move |
|---|---|---|
| Continuity beep / near 0 Ω on pulled fuse | Element closed | Reinstall; check relay/command if pump still silent |
| OL / open on pulled fuse | Fuse blown | Replace at same amp; watch for re-blow |
| ~12 V on both powered pads | Fuse likely OK while energized | Branch to relay and pump feed |
| ~12 V on one pad only | Fuse open under power | Replace and inspect for short/overdraw |
| 0 V on both pads | Upstream feed dark | Trace battery/ignition feed before condemning the fuse |
Do not ohms-test across a live fuse. Continuity belongs on a removed part; live circuits use voltage or a test light.
Write the method used (continuity vs pad voltage) on the work order so the next tech does not re-run the same ambiguous glance.
Distinguishing Fuse, Relay, and Pump Failures
A silent tank can be an open fuse, a dead relay, cut wiring, or a failed electric in-tank fuel pump—so treat “no prime” as a power-path question, not an automatic assembly line item. Record the fuse result first, then move one branch at a time.
When the fuse tests good, check whether the fuel pump relay is commanding the feed and whether loaded voltage reaches the pump connector. Community no-start threads often jump to a pump quote while the relay output path is still dark.
| Pattern | Points to fuse | Points to relay / control | Points to pump / load |
|---|---|---|---|
| Fuse continuity / pad voltage | Open or one-sided voltage | Good fuse, no click or no output | Good fuse and relay feed present |
| Key-ON prime hum (often ~2–3 s on many EFI) | Usually absent if fuse open | Often absent if relay never closes | May be absent even with good power if motor is dead |
| Re-blow of a new fuse | Protection still seeing fault | Fuse usually stays intact | High draw or shorted motor can re-blow |
| Power at pump connector | N/A once fuse is open | Missing if relay/control dark | Present with no run → module suspect |
If the fuse is open, replace once at the correct amp and decide whether the new fuse holds. If it holds and the pump still fails delivery, shift to in-tank symptom and pressure evidence in in-tank fuel pump symptoms rather than looping fuse packs.
A service counter / shop bay should attach relay swap notes when an identical-form relay restores prime after a good fuse. That packet stops the bounce between fuse drawers and pump cartons on the same VIN.
What to Do When the Fuel Pump Fuse Keeps Blowing
A fuse that keeps blowing is almost never a “bad fuse” problem by itself—it is the circuit reporting a hard short or a load that pulls more current than the rating allows. Stop swapping packs and start isolation.
Replace once with the same amp rating, then watch timing. Instant open on key-ON often means a hard short to ground or a pinched feed. Surviving key-ON then dying under crank or run often means overdraw from a worn pump or a severe restriction that forces the motor to work harder.
Unplug the pump/module connector and retest key-ON when the new fuse dies immediately. If the fuse holds with the pump unplugged, inspect tank-area routing, pinches after tank work, and connector damage before condemning a brand-new module. If it still blows unplugged, chase the short between the fuse/relay feed and the connector.
Never upsize the fuse to “get the truck home.” That choice removes protection while the short remains.
After tank or bed work, pinched harnesses are a recurring shop story: the fuse pops on key-ON until the pump connector is unplugged, then the open disappears. Capture that pattern on the ticket so wiring repair time is stocked, not another fuse assortment.
Recommended Electric Fuel Pump Assemblies After Power-Path Confirmation
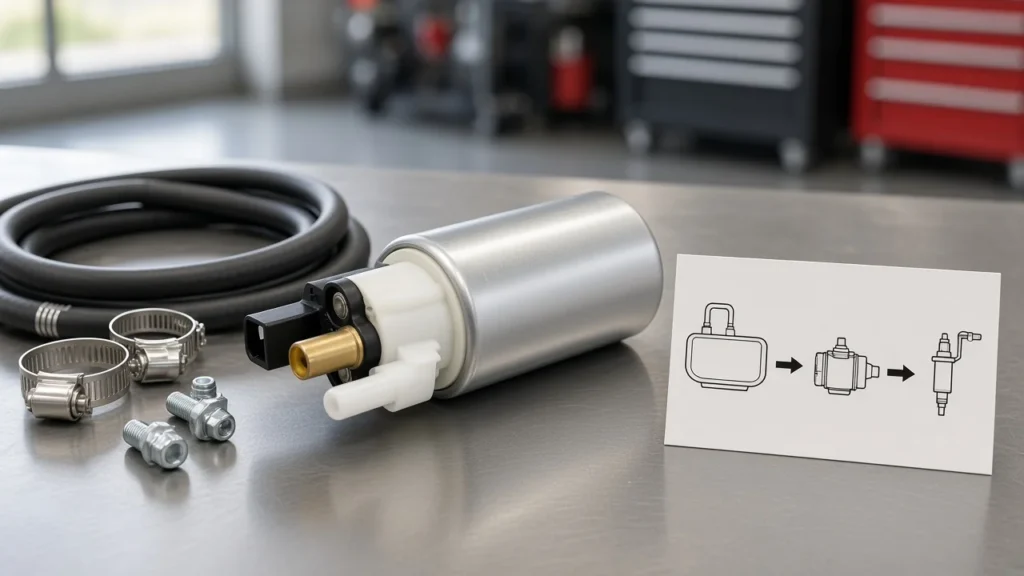
Move to an assembly quote only after the fuse and relay path can deliver power and the pump still fails pressure, volume, or commanded run checks. At that point the failure is no longer “the fuse,” and the buyer needs a platform-scoped electric module.
Browse the Kangsong electric fuel pump assembly catalog on the products hub for distributor programs. Match OE references and connector style per SKU—example Hyundai Sonata / Kia Optima assemblies are scoped on their own product pages and do not prove fitment elsewhere.

Keep the catalog path scoped to electric modules after the fuse story is closed.
EFI port-injection in-tank pumps commonly build rail pressure in a roughly 40–60 psi band when the electrical feed is healthy—compare your gauge note to the OEM target for that platform. Attach fuse cavity, amp rating, pad-voltage or continuity result, and relay outcome to the RFQ so the next stocker does not restart the electrical chase.
Skip the assembly path when the fuse still unexplained, the unplug test still points at a harness short, or the vehicle falls outside a product page’s listed scope. No third-party brand equivalence is implied by the catalog link.
FAQ
How do you test a fuel pump fuse with a multimeter?
Pull the fuse and check continuity (beep or near-zero ohms) end to end, or leave it seated and confirm about 12 V on both top pads with the circuit energized. One live pad and one dark pad means the fuse is open.
Where is the fuel pump fuse usually located?
Check the lid map for Fuel Pump, FP, or P/MP labels in the under-hood fuse box / power distribution center or a cabin panel. Log the cavity ID from service data rather than guessing by color.
How can you tell if a fuel pump fuse is blown without guessing?
Look for a broken filament or darkened body, then confirm with continuity or pad voltage. Hairline opens can look intact, so do not stop at a visual glance.
What if the fuse tests good but the pump stays silent?
Treat the next branch as relay, control, or wiring before you condemn the electric in-tank fuel pump. A good fuse only proves the protective link is closed.
Why does a fuel pump fuse keep blowing after replacement?
Usually a hard short in the feed/harness or a high-draw load. Use same-amp replacement once, watch re-blow timing, and run the unplug isolation branch—never upsize.
Is it safe to install a higher-amp fuse for the fuel pump?
No. A larger fuse removes circuit protection and can allow harness damage while the root fault remains.
How is this different from fuel pump fuse blown symptoms?
This page is the how-to test procedure. The fuel pump fuse blown symptoms article maps complaint patterns and isolation language for counters.
When should a counter quote an electric fuel pump assembly?
Only after power reaches the pump and delivery evidence still fails. Then filter the products hub with VIN/OE notes attached.
References
- Wikipedia: Fuse (electrical) — sacrificial overcurrent operation of fuses.
- Wikipedia: Fuel pump — electric in-tank EFI pump role and typical port-injection pressure context.
- United States EPA: Gasoline Standards — gasoline program context for careful fuel handling during service.
- Garage Journal: Testing Auto Fuses with Ohm Meter — community guidance to pull fuses for ohms or use powered side checks.