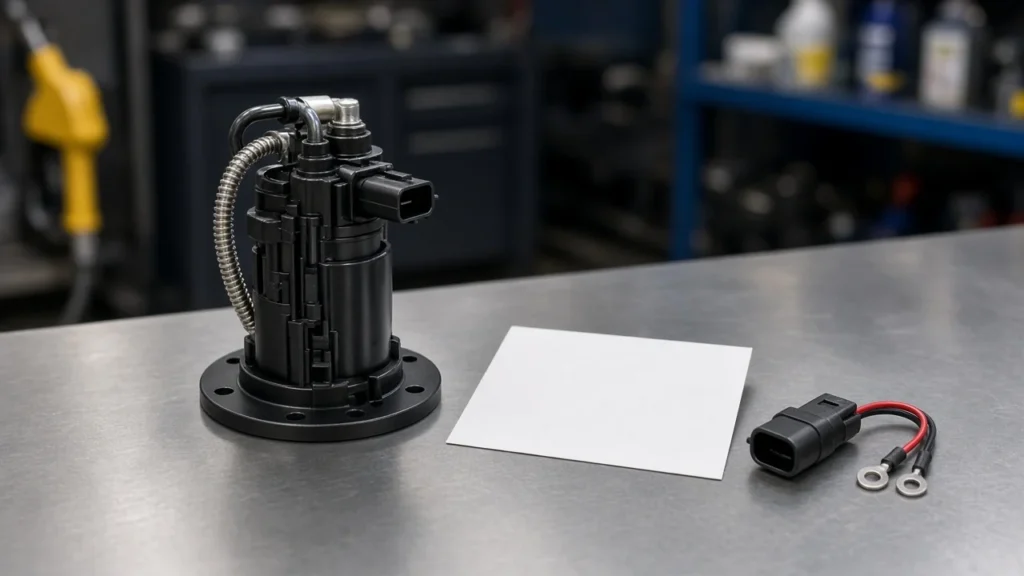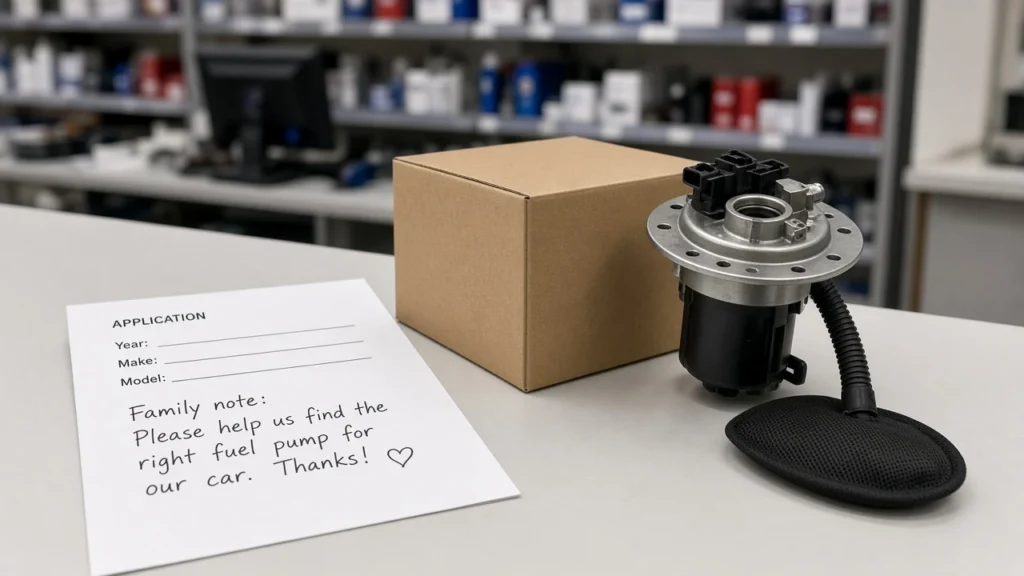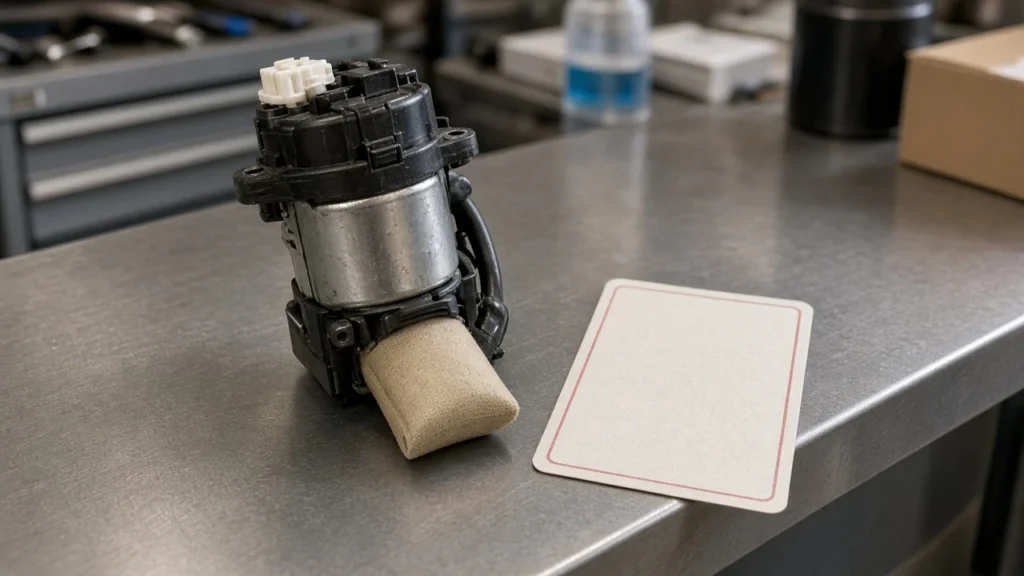
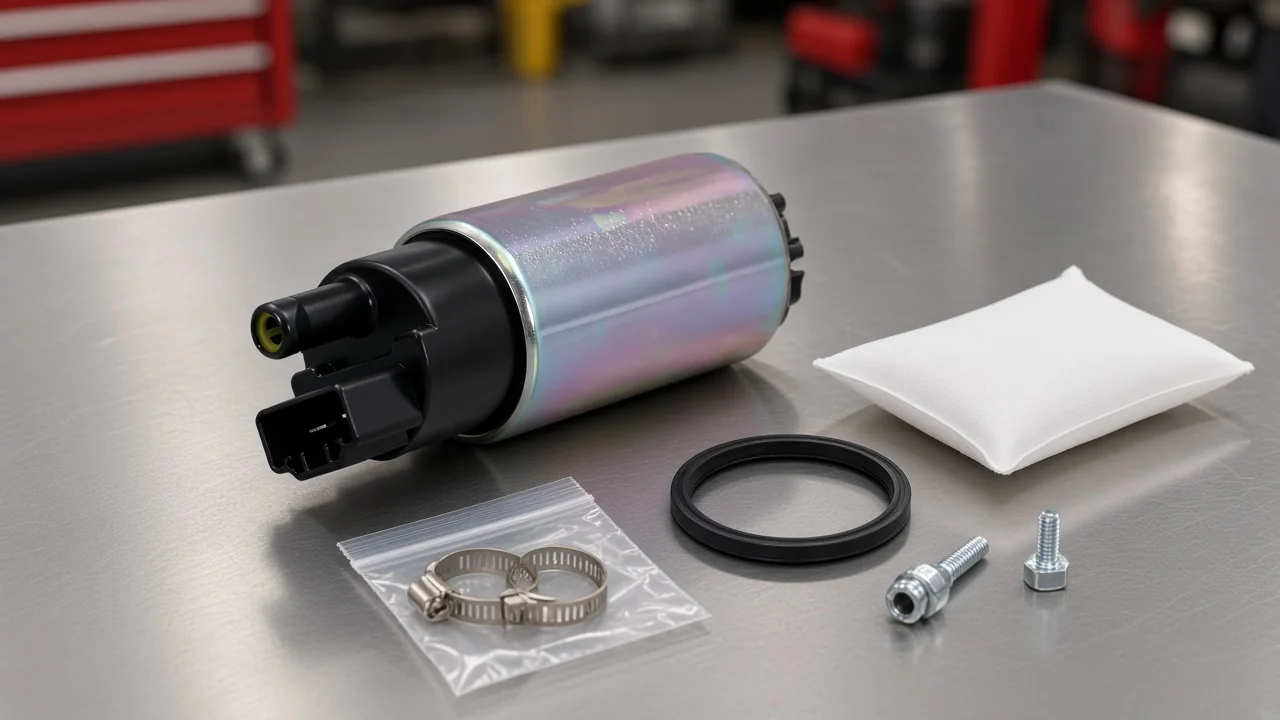
An aftermarket in tank fuel pump is the non-dealer electric pump—often sold as a full in-tank module—that restores tank-to-rail fuel delivery when the original unit fails. The sections below cover the OE-style selection path: what you are buying, when aftermarket is rational, the fitment and electrical gates, module versus pump-only, return versus returnless architecture, how to read pressure and flow, and which Kangsong application-scoped kits to open when the printed title matches.
What an Aftermarket In-Tank Fuel Pump Is
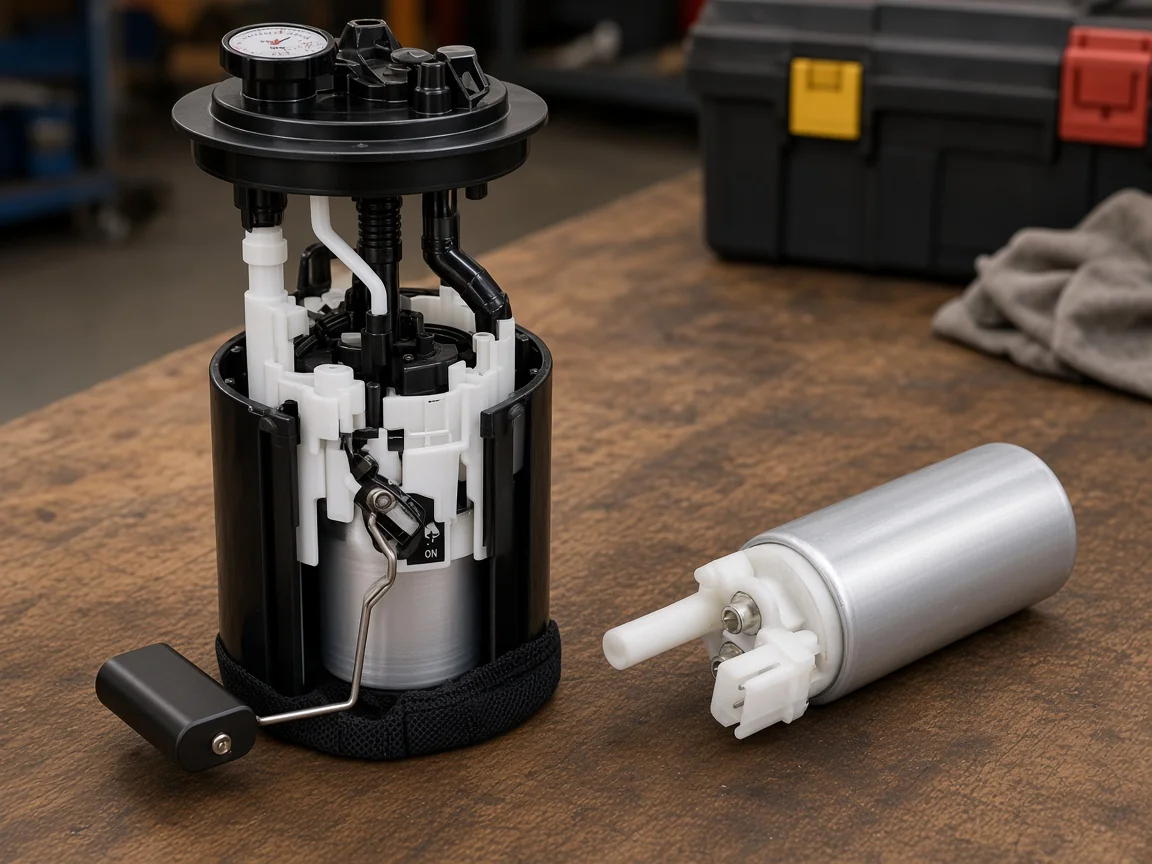
It is the electric pump that lives inside the fuel tank on many EFI petrol vehicles and pushes fuel toward the injectors, usually as part of a fuel pump module that also carries a strainer and a fuel-level sender.
On manifold-injection systems the in-tank pump commonly works in a pressure band measured in tens of psi—Wikipedia’s overview cites roughly 40–60 psi for older port and throttle-body injection layouts, while independent shop education often quotes a wider application-dependent window around 30–85 psi. Direct-injection cars still use an in-tank supply pump, but a separate high-pressure pump on the engine does the extreme boost; that is a different buying job than the aftermarket in-tank replacement this article covers.
The aftermarket label simply means the part is not sold as a dealer-boxed OE unit. It does not automatically mean “high-flow race pump,” and it does not mean a universal hanger that fits every tank.
For location contrast with frame-mounted pumps, see external fuel pump vs internal. For the broader gasoline electric family language on this site, see gasoline electric fuel pump.
When an Aftermarket Pump Beats Waiting on a Dealer OE Part
Aftermarket is rational when the replacement matches the vehicle’s packaging, connector, and delivery needs—and when you treat the tank drop as a one-time labor event.
Fleet and DIY threads on enthusiast forums keep returning to the same objection: a cheap pump that fails early forces a second drop, and the labor dwarfs the parts savings. Connector fights during install show up in those same stories—plastic latches break, pin counts surprise the tech, and the job stretches overnight.
That community language is a buying filter, not a brand scorecard. Skip brand scorecards here: the copy will not rank Bosch, Delphi, Airtex, or any other label against Kangsong, and it will not claim equivalence to diesel lift brands such as FASS or AirDog.
When fitment comes from the printed application title (or a verified OE cross), and the electrical and line interfaces match, aftermarket modules usually beat waiting on dealer packaging. Stay with dealer OE when the vehicle has obscure tank options you cannot confirm, when the only aftermarket listing is a universal performance hanger, or when warranty policy requires OE packaging.
Still hearing whine, hard starts, or load stalls? Diagnose first with the sister guide on in-tank fuel pump symptoms before you order hardware.
Selection Checklist: Fitment, Connector, Sender, and Strainer
Match the vehicle scope, the connector pin count and latch style, the sender decision, and a clean strainer path before you care about brochure flow numbers.
Use this order:
- Vehicle scope. Year, make, model, engine, and tank options must sit inside the listing’s printed title or application table. Do not stretch a C/K pickup kit onto an unrelated platform.
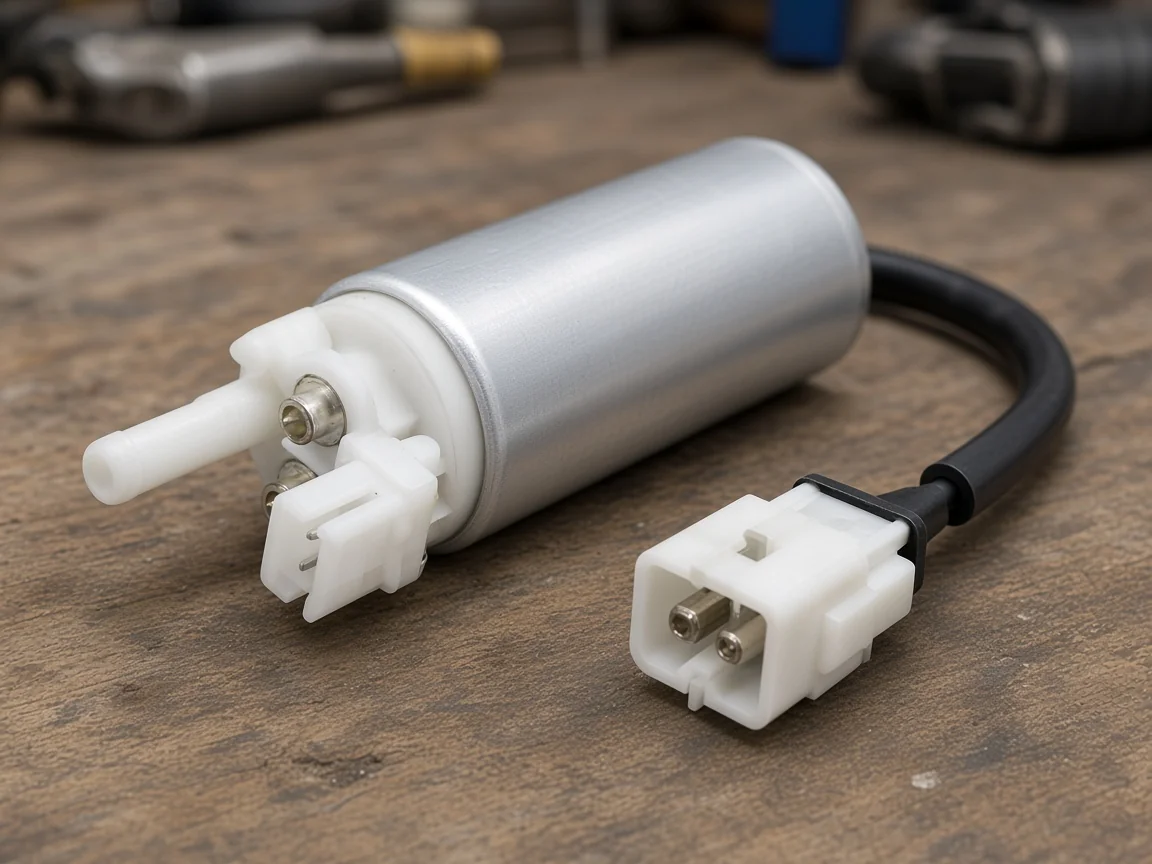
- Connector. Count pins and compare the latch on the connector. A two-pin pump on a four-pin module circuit is not a “close enough” buy. Soft-link detail lives in how to disconnect a fuel pump electrical connector and in-tank fuel pump wiring diagram.
- Sender and gauge. If the fuel gauge already lies, a pump-only insert leaves the bad sender in the tank. If the gauge is healthy and the hanger is sound, pump-only can be considered after inspection.
- Strainer and tank cleanliness. A new sock on a dirty tank is a short-lived win. Flush or clean before the new pump goes in.
- Pressure and volume. The replacement must be capable of the same operating pressure and fuel volume the system needs. Independent technical notes stress that the pump design type can differ, but pressure and volume cannot.
Module Assembly vs Pump-Only: Which Should You Order?
Order a complete module unless the hanger, sender, seals, and wiring interfaces are inspected and confirmed reusable.
Independent education describes the choice plainly: a pump can be replaced as a separate motor or as a complete module assembly that costs more but is easier and less troublesome. Community posts echo the labor math—when the tank is already coming down, paying once for a full sending-unit assembly often beats gambling on a bare motor.
| Decision point | Complete module / assembly | Pump-only insert |
|---|---|---|
| What you replace | Pump plus hanger hardware; often strainer and sender | Electric motor only, reused hanger |
| Best when | Sender, sock, or plastic hanger is aged or cracked | Gauge works; hanger and seals look serviceable |
| Labor risk | Higher parts cost, lower reassembly risk | Lower parts cost, higher risk of a second drop |
| Electrical | Usually arrives with the OE-style connector path for that listing | May need spacers, socks, or pigtail kits |
| Buyer trap | Ordering a module for the wrong tank flange | Ordering a “universal” motor with no vehicle title match |
If your listing is an electric gasoline kit that already states accessories included and OE-comparable harness language, treat it as a module-style service part for that printed application—not as a blank cheque for every gasoline vehicle in the yard.
Confirm Return vs Returnless Architecture Before You Buy
Know whether pressure is regulated at the rail with a return line or inside the tank on a returnless fuel system before you pick the module type.
Repair education separates continuous return-style systems—pump supplies fuel, a rail regulator returns excess—from a returnless fuel system where pressure control lives in the tank and the regulator is often built into the module. Technical magazine analysis adds that on many return systems the pump’s job is volume supply while the regulator sets rail pressure; returnless electronic systems may vary pump duty instead. Ordering a return-style mental model into a returnless tank (or the reverse) is how buyers end up with the wrong ports, the wrong regulator location, or a pump that cannot be commanded the way the PCM expects.
| Buyer check | Return-style clue | Returnless clue |
|---|---|---|
| Lines at the module | Supply plus a dedicated return path in many layouts | Often a single supply focus; regulator integrated |
| Under-hood hardware | Rail-mounted regulator common on older EFI | No return line; pressure sensor / module control more common |
| Replacement implication | Module must preserve return plumbing expectations | Module must match in-tank regulation / control strategy |
| Spec reading tip | Confirm residual and running pressure from service data | Do not assume a fixed “brochure psi” replaces vehicle data |
How to Read Pressure, Flow, and Voltage on the Spec Sheet
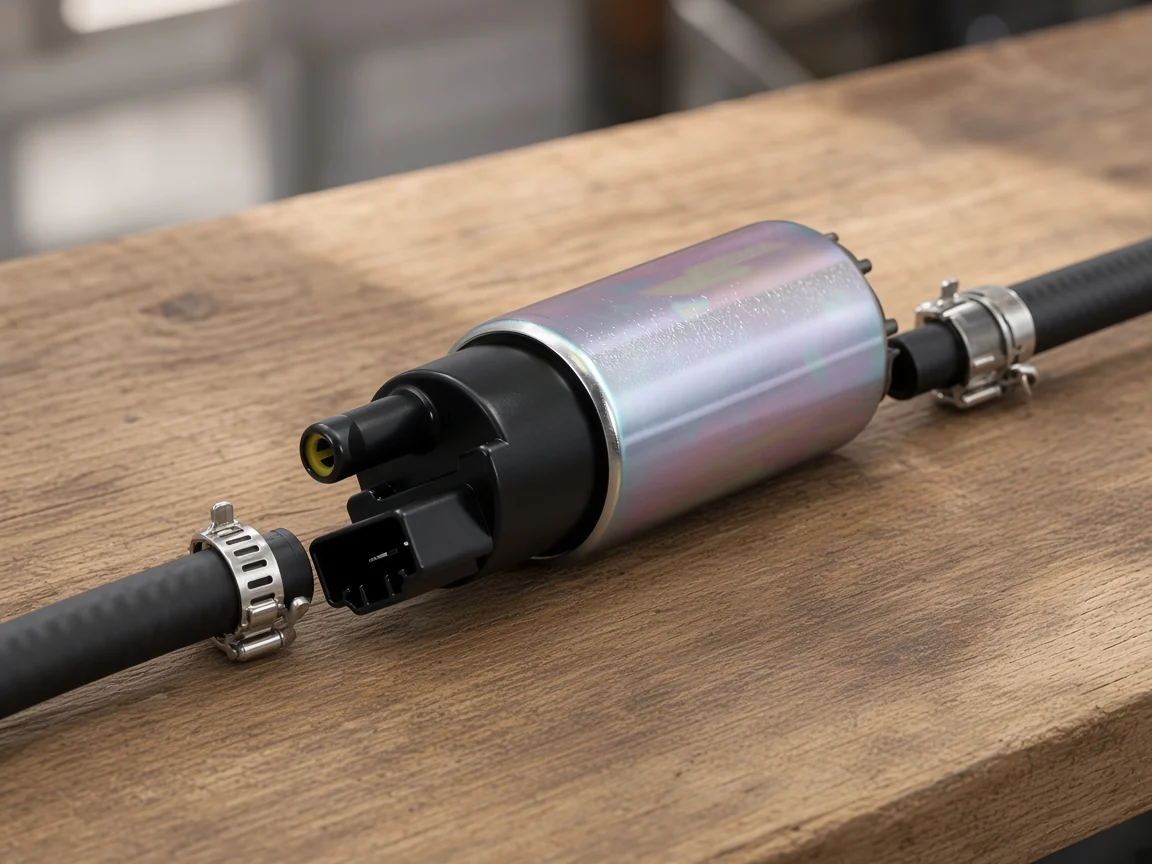
Match published pressure and volume capability to the vehicle’s service requirement; ignore marketing LPH figures that do not map to your stock replacement job.
SERP results for aftermarket in-tank pumps are crowded with 255 LPH, 340 LPH, and 450 LPH performance kits aimed at EFI conversions and horsepower targets. Those pages are useful only when you are building that kind of system. For an OE-style replacement, the useful fields look more like:
- Operating pressure capability that can meet the vehicle’s specified band (confirm the number in service data; do not invent a single universal psi).
- Flow volume stated in a unit you can compare (GPH or LPH) against the OE requirement—not against a race brochure.
- Voltage (many light-vehicle electric pumps are twelve-volt class).
- Connector pin quantity and harness notes.
- Accessories included (strainer, seals, hardware) so you know whether you are buying a motor or a service kit.
On Kangsong’s published gasoline electric kit pages, example attributes include GPH 43.3–49.5, a maximum air-pressure field printed as 12–26, a 2-pin main connector, and accessories-included language. Those figures belong to those listings; they are not a universal aftermarket standard.
Electrical and Install Risks That Ruin an Otherwise Correct Pump
Weak supply voltage, a contested connector, and a contaminated tank can destroy a correctly sized pump after you have already paid for the labor.
Important: Independent shop education notes that driving with a chronically low tank can shorten electric-pump life by letting the motor run hotter and momentarily starve for fuel, while contamination, a plugged filter, or low voltage make the pump work harder and pull more current. Community install threads add the practical warning: awkward connectors and broken plastic clips turn a Saturday job into a multi-day fight—so verify the plug and relieve fuel pressure before you commit the hanger.
Before the order ships, confirm fuse and relay health, inspect grounds, and plan the unlock for the electrical connector. Wiring context for twelve-volt pump circuits is covered in how to wire a 12 volt fuel pump. Do not treat starting-fluid tricks or “it primes for two seconds” as a complete diagnosis when pressure and volume still need a gauge check.
Choose a Kangsong Application-Scoped Electric Pump Kit
Open the Kangsong kit whose printed product title matches the vehicle; if nothing matches, browse the catalog root instead of forcing a near-fit.
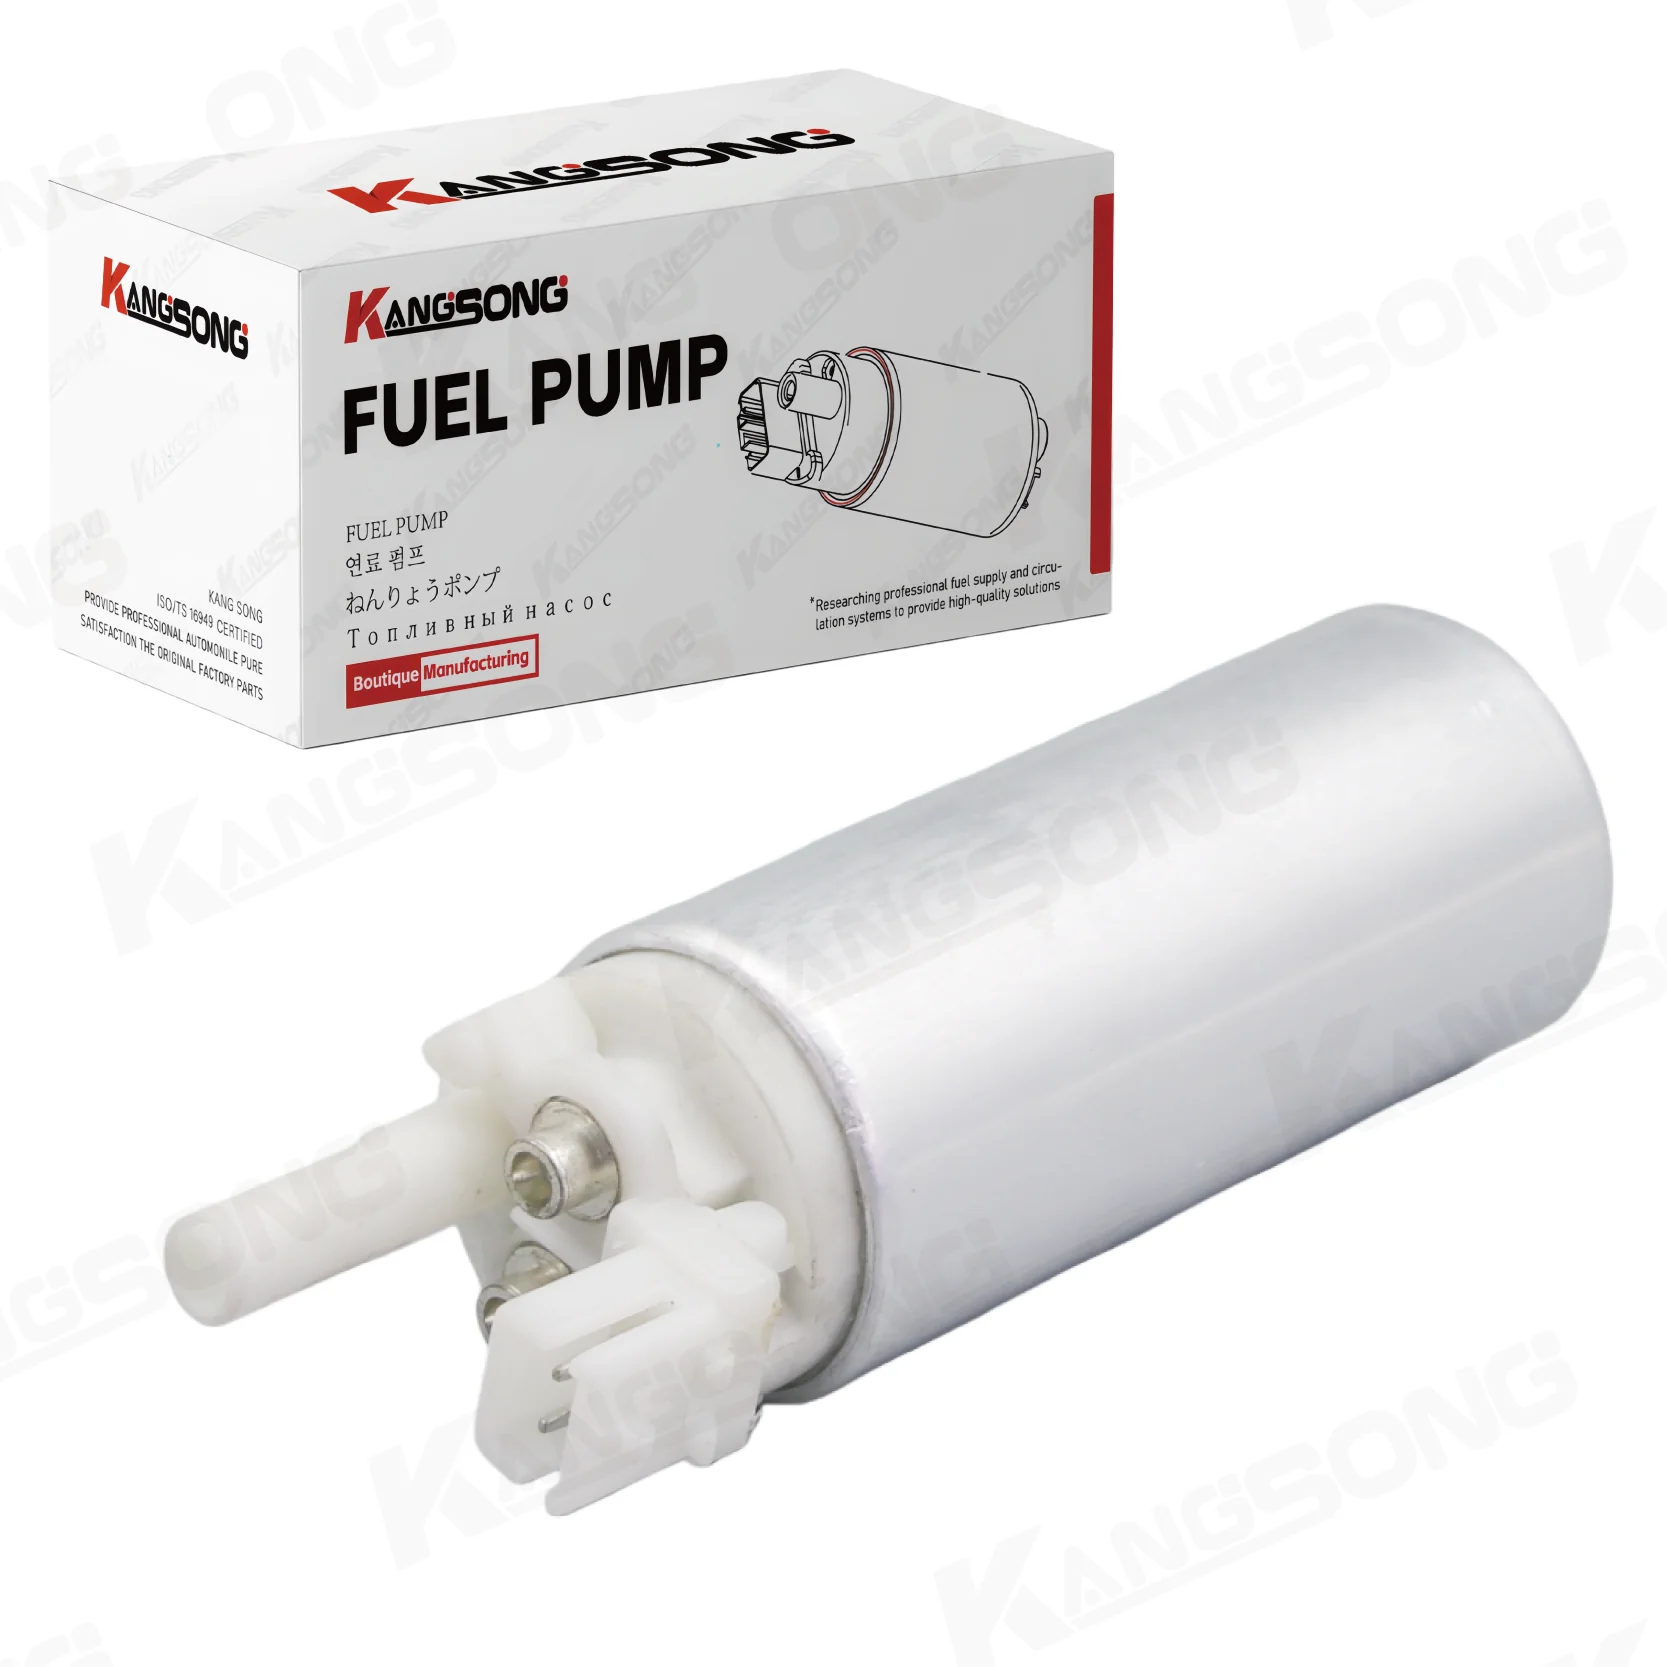
For C/K pickup applications printed on the listing, start with the electric gasoline fuel pump with installation kit compatible with 1987–1995 C/K 1500 2500 3500 pickups. That page publishes GPH 43.3–49.5, a maximum air-pressure field of 12–26, a 2-pin connector, and accessories included for that title scope.
For the printed Hyundai Accent I / Kia Sephia title window, use the electric gasoline fuel pump with Hyundai and Kia compatible listing, which carries the same published GPH and pressure-field pattern with its own OE interchange list and application table. Fitment stops at what the PDP title and table print—do not extend those kits by guesswork.
If the vehicle sits outside those printed scopes, browse products-root for another application-scoped gasoline electric or kit listing. That category path is navigation, not proof of universal fit.
FAQ
Is an aftermarket in-tank fuel pump acceptable instead of a dealer OE unit?
Yes when connector, packaging, and pressure/volume capability match the vehicle and you accept that labor risk favors a sound module over the cheapest motor. This is a fitment decision, not a brand beauty contest.
Should I buy a complete module or a pump-only insert?
Buy a complete module when the sender, sock, or hanger is aged. Consider pump-only only after you inspect the hanger and confirm the gauge circuit is healthy.
What fuel pressure should an aftermarket in-tank pump run?
Use the vehicle’s service specification. Educational sources describe common manifold-injection bands in the tens of psi (roughly 40–60 psi in one encyclopedia overview; about 30–85 psi across applications in shop education). There is no single catalog number for every car.
Do I need a high-flow 255 LPH pump for a stock engine?
Usually no. Stock OE-style replacements need matched volume and pressure, not a performance LPH headline from an EFI-swap kit page.
Why do some aftermarket in-tank pumps fail early?
Contamination, chronic low-fuel heat, restricted filters, low voltage, and wrong electrical or architecture match all show up in education and owner threads. A second tank drop is the expensive outcome those failures create.
How critical is the electrical connector on an aftermarket pump?
Critical. Pin count and latch style must match. A forced pigtail without a plan is a common way to create an intermittent no-start after the tank is buttoned up.
When should I open a Kangsong kit page?
When the printed product title matches your vehicle window—for example the 1987–1995 C/K kit or the printed Accent/Sephia listing—or when you need to browse products-root for another scoped gasoline electric pump.