Intake vs exhaust VVT solenoid interchangeability is determined by the exact engine’s parts information and service instructions. Some positions may use a shared approved part; others require different valves even when their connectors and bodies look similar. Do not decide by color, location in a photograph, or a seller’s broad fitment title. Confirm the VIN, engine code, camshaft position, original number, and current supersession before swapping or ordering. The same checks apply when a diagnostic procedure proposes moving a valve to another position.
Intake and exhaust describe controlled camshaft positions
An intake camshaft operates the intake valves, and an exhaust camshaft operates the exhaust valves. A dual-phasing engine may control both, but not every engine has the same arrangement. The oil control valve directs or meters oil for its corresponding hydraulic function. It is not interchangeable with a camshaft position sensor simply because both connect electrically near the cylinder head.
Manufacturer documentation provides the reference for the installed control arrangement. The specific engine determines the actual number and location of valves and actuators. A general explanation cannot assign a part number to bank one, intake, or exhaust on an unidentified vehicle.
Bank identification must also come from service information. “Left” can mean different things depending on viewing direction, and a transverse installation can make an intuitive front-versus-rear description unreliable. Use the manual’s bank and camshaft naming, then label the removed parts before they can be mixed.
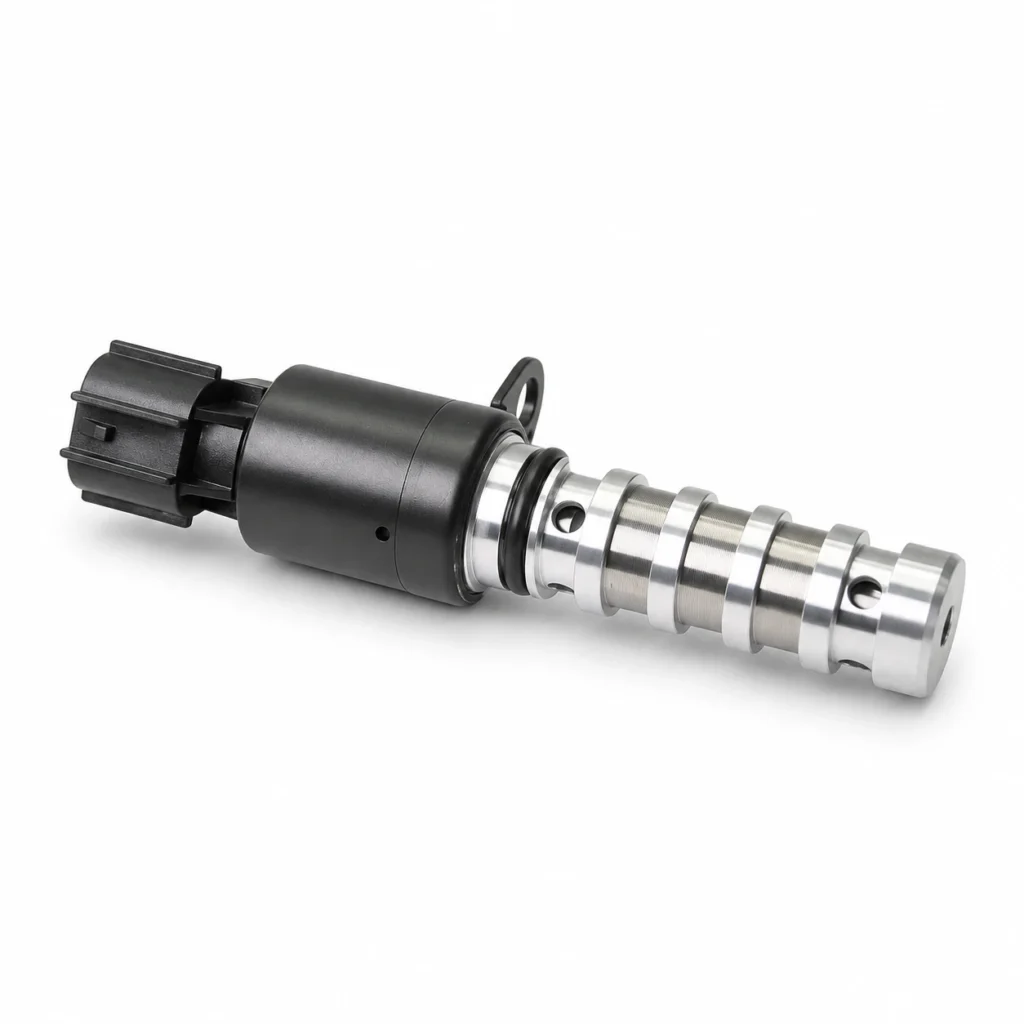
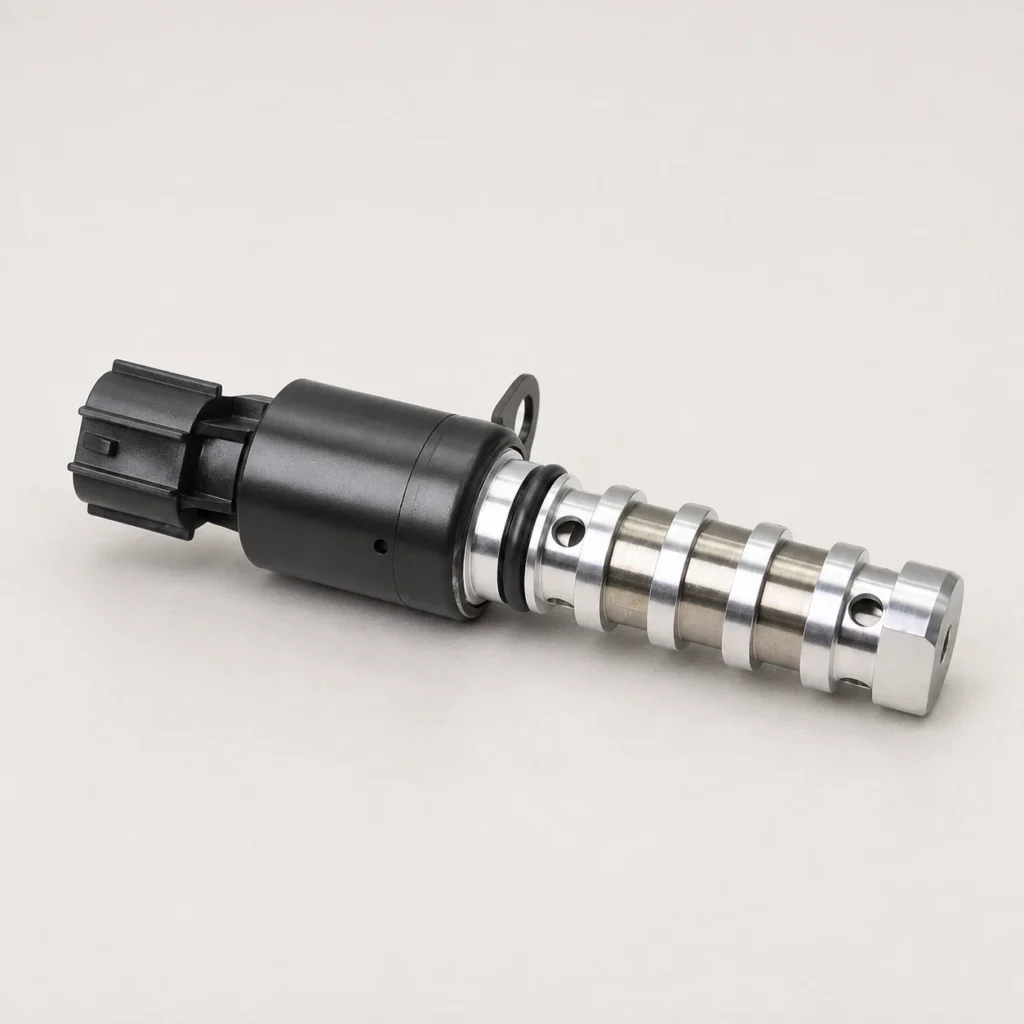
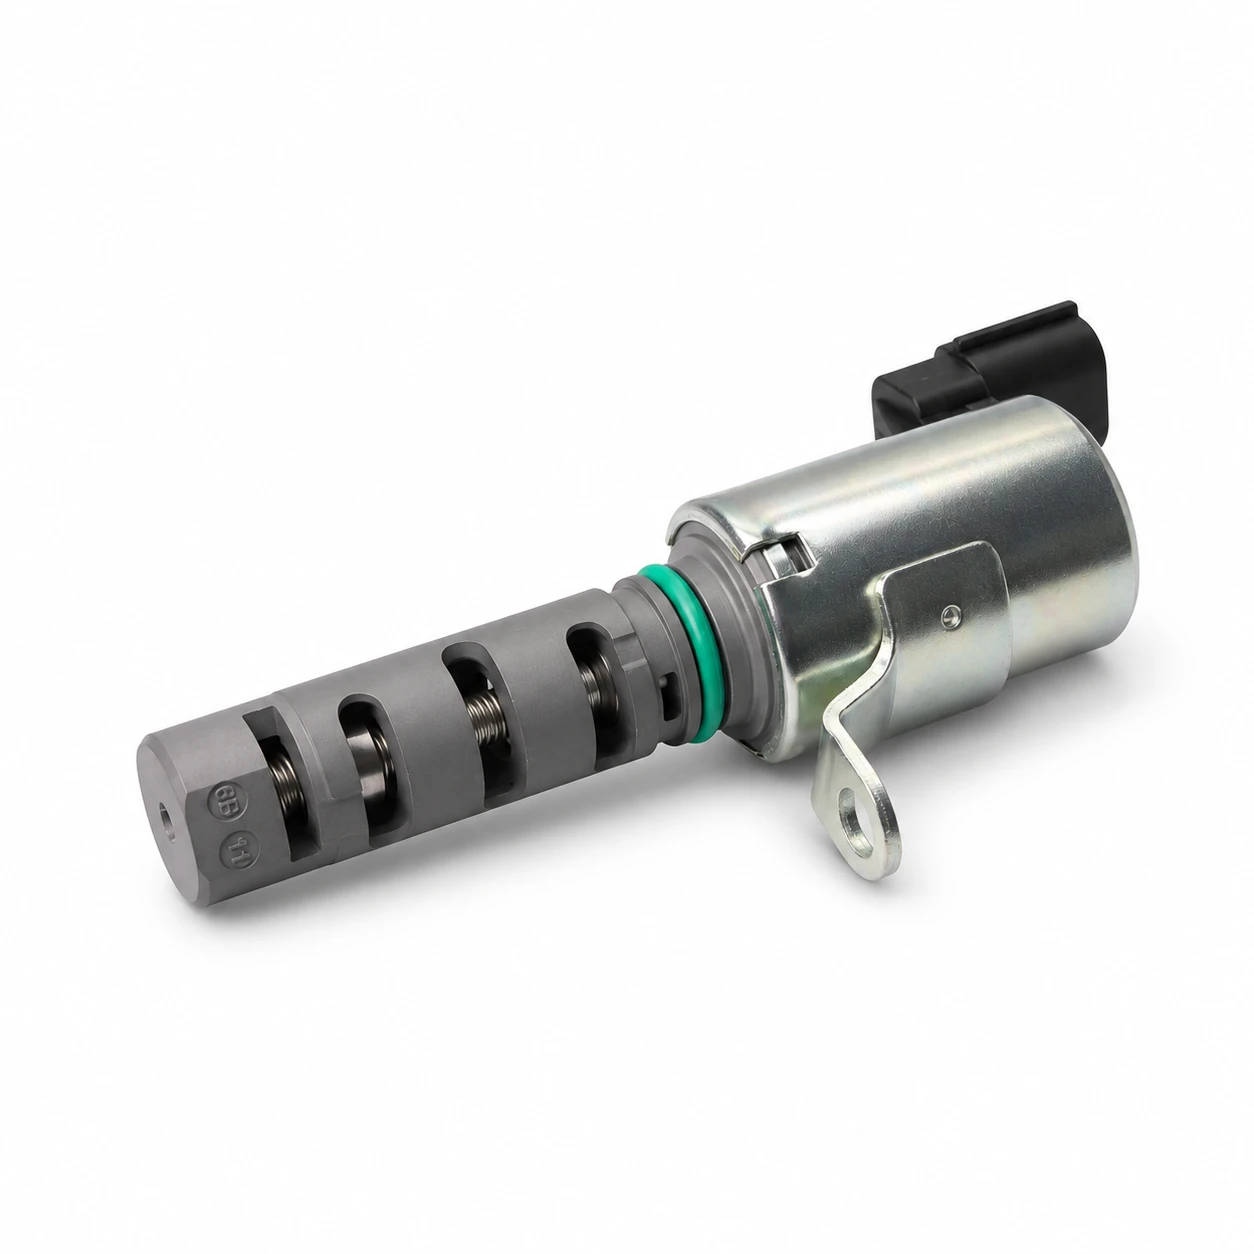
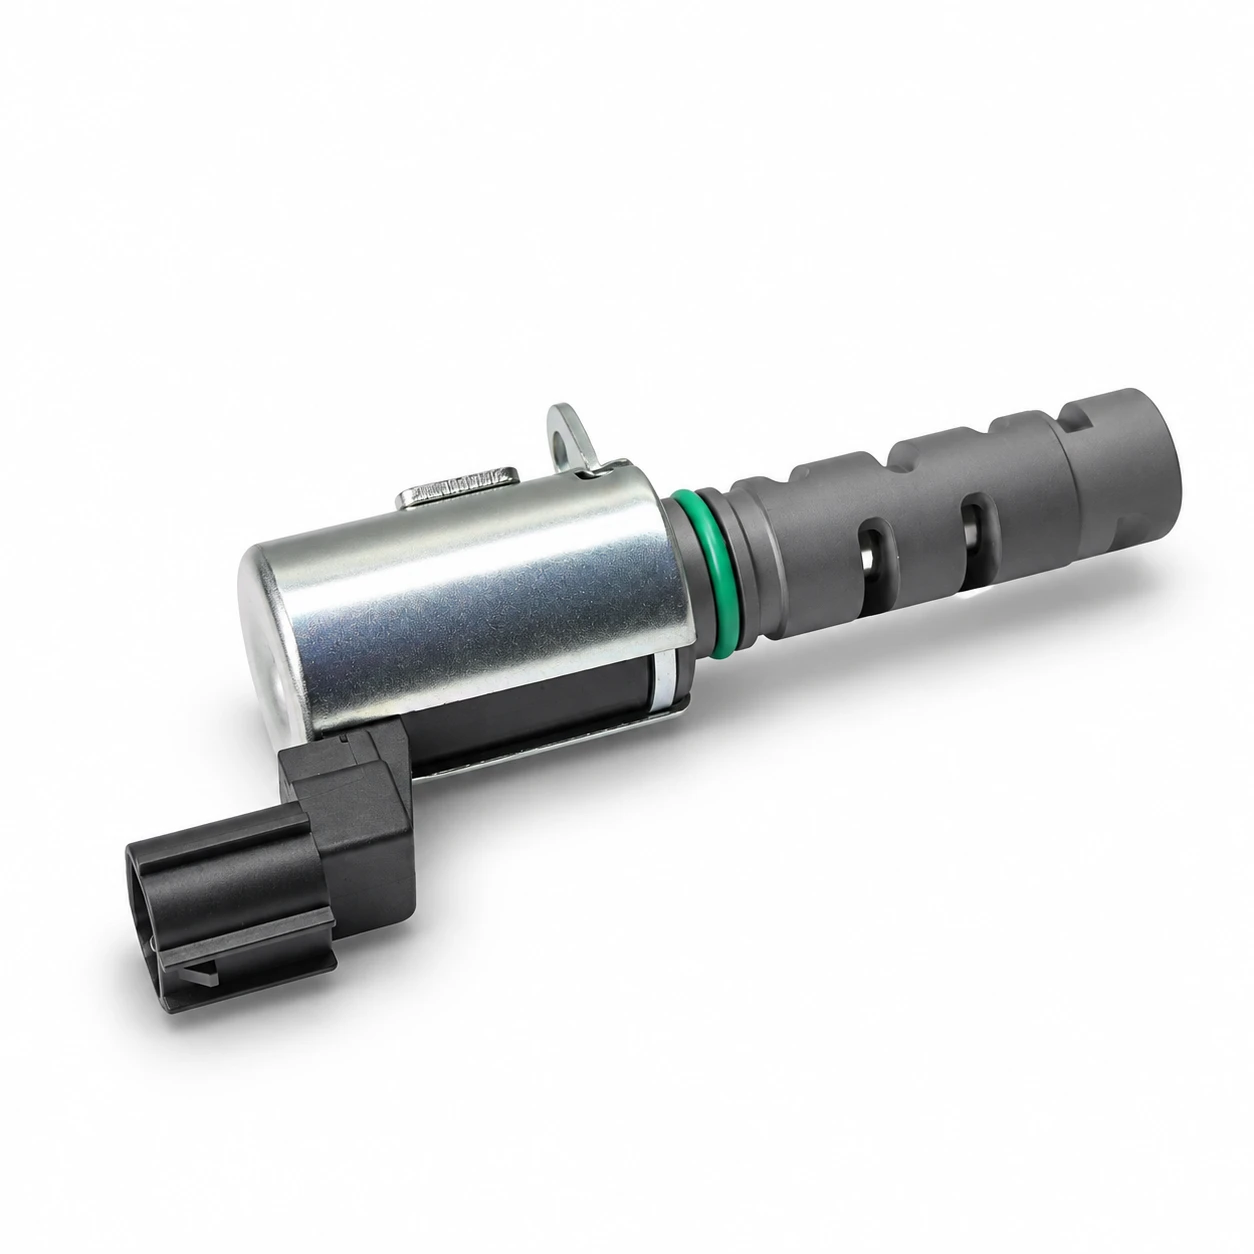
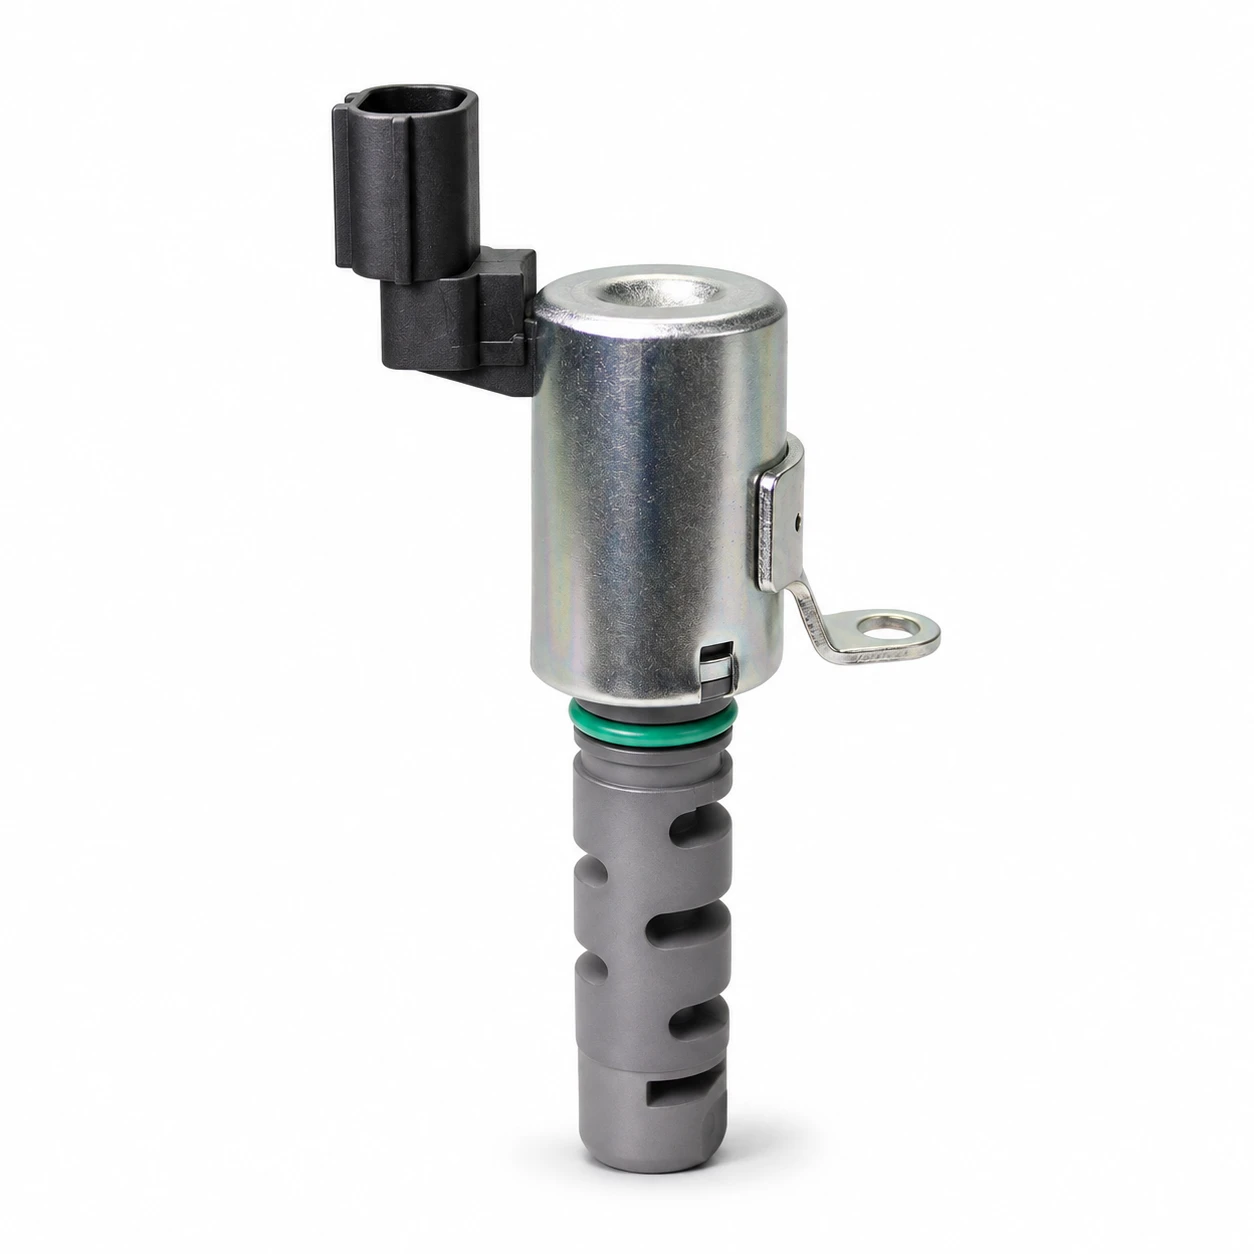
The website’s 15330-75010 / KS-VVT215 valve listing is the source of the real product used in this article’s images. It is shown for identification of visible connector, seal, mounting, and body features. The photograph does not prove interchangeability with another valve or establish the internal oil-routing specification.
Why similar-looking valves can require different numbers
Two valves may fit into apparently similar openings while differing in installed depth, seal position, mounting orientation, or hydraulic port geometry. Electrical response and the internal control arrangement can also differ. A connector that locks successfully only establishes one part of the mechanical interface; it does not prove the entire control system is suitable.
An exact common part number in an approved catalog is more useful evidence than visual similarity. Even then, verify any restrictions involving production date, engine variant, or revised installation parts. A supersession can change the supplied assembly or require associated components. Follow the documented replacement relationship rather than assuming every older and newer number is freely interchangeable in both directions.
The GM PI0562F bulletin hosted by NHTSA lists distinct intake and exhaust solenoid references for its specified application. A separate GM camshaft-actuator service update also identifies position-specific oil control valves. These examples show that position can matter; they do not prove that every engine uses different valves or that the listed numbers apply to the pictured Toyota-related product.
Establish the identity of the installed component
Begin with the VIN and engine code rather than a model name alone. Engines within one model range can have different timing systems, and a registration year may not identify a production revision. Use the parts catalog’s application boundaries and the service procedure for the installed engine.
Record the original valve number if legible, but distinguish a supplier marking, casting number, and service part number. Not every number on a component is an orderable reference. If the marking is unclear, photograph it and ask the supplier to resolve the identity against the vehicle information. Guessing one digit can send the inquiry into a different application.
Label the installation position using the manual’s terminology. Include whether the request concerns a complete oil control valve, a separate actuator magnet, a central valve or bolt, or another part of the control assembly. Different designs divide these functions differently. The word “solenoid” on its own can describe too broad a supply scope.
Use a documented interchange decision
| Evidence available | Reasonable conclusion | What to do before installation |
|---|---|---|
| Approved catalog gives the same current service part for both positions | Shared use is documented within that catalog’s application limits | Verify engine, production boundary, and associated installation parts |
| Catalog gives different intake and exhaust numbers | Do not assume interchangeability | Order the correct position or obtain a documented supersession |
| Only connector and body shape appear identical | Compatibility remains unverified | Resolve part identity and hydraulic or electrical requirements |
| Service procedure explicitly permits a diagnostic swap | A controlled comparison may be appropriate under that procedure | Label positions and follow its conditions and interpretation |
| Seller lists both positions without an application reference | The fitment claim needs support | Request a VIN-based cross-reference and written supply scope |
This table is a purchasing and identification framework. The linked manufacturer examples support the need for position-specific checking, while the vehicle’s current catalog determines the actual result. No universal intake-to-exhaust interchange rule is claimed here.
A diagnostic swap requires more than matching plugs
Some diagnostic procedures use a controlled component interchange to see whether a fault follows a component. That can be informative only when the components are approved for the compared positions and the procedure permits the test. Swapping an unidentified valve introduces another variable instead of isolating the original one.
Before any permitted swap, save the codes, operating conditions, and position labels. Inspect the seals and the cleanliness requirements. Do not move debris from a suspect valve into a clean oil circuit. If the procedure requires new seals or another installation step, include that requirement in the diagnostic plan rather than treating the swap as consequence-free.
A fault that appears to move still needs interpretation under the procedure. A disturbed connector, altered contact, changed temperature, or cleared adaptive state may affect the result. Keep the test conditions consistent and record exactly what was moved. Do not turn an inconclusive result into an instruction to replace every valve on the engine.
Check the whole fit before accepting the shipment
Compare overall length, the distance from the mounting surface to the seal, mounting-tab orientation, connector keying, and visible port positions. Use approved drawings or the original reference where available. A photograph is useful for detecting an obvious mismatch, but perspective and scaling prevent it from replacing a dimensional inspection.
Inspect the supplied seals and transport protection. Determine whether seals are included and whether the service procedure requires replacement. A valve that arrives without the expected installation parts may be correctly identified but still leave the repair incomplete. Record the discrepancy before the component is installed and the packaging is discarded.
For an initial inquiry, provide clear views of the complete component, connector face, mounting tab, and markings. Keep them associated with the vehicle and position. A folder containing several visually similar valves without labels creates uncertainty that a supplier cannot reliably resolve from appearance alone.
Separate fitment from diagnosis and calibration
Correct fitment does not prove that a valve is the failed part. Oil level, oil pressure, wiring, control signals, feedback, and mechanical timing can cause related complaints. Follow the diagnostic path before turning a parts comparison into a repair authorization. A replacement that fits perfectly can leave the original problem unchanged if the wrong fault was identified.
Do not borrow electrical limits from another product listing. Resistance, command behavior, and testing conditions belong to the exact application. A valve that makes a clicking sound under an improvised power test has not passed an interchangeability assessment or a complete hydraulic test. Use the approved actuator and circuit checks instead.
The site’s OEM and ODM service page provides the commercial context for a documented component request. The VVT solenoid symptoms guide covers diagnosis before replacement. The high-pressure pump cam follower guide describes a different cam-driven interface; those mechanical pump parts and inspection criteria are separate from the oil control valves discussed here.
Keep intake and exhaust orders traceable
On a wholesale order, use separate lines for positions that have distinct approved references. Include quantity per engine, application boundaries, supersession information, and any paired service parts. Ask the supplier to preserve identification on the packaging so a warehouse does not combine visually similar valves into one unlabeled bin.
For sample approval, record the exact sample number and acceptance evidence. If the supplier later offers a revised version, repeat the relevant identity and fit checks. A previous sample approval is not blanket approval for every part with a similar body. Keep the approved documentation alongside the purchase order for future replacement inquiries.
After installation, perform the prescribed leak inspection, fault checks, and any learning procedure. Confirm that the intended position responds normally under the required operating conditions. The final acceptance concerns a correctly identified part working in the intended system, supported by the vehicle’s service requirements.
Further learning: timing versus lift
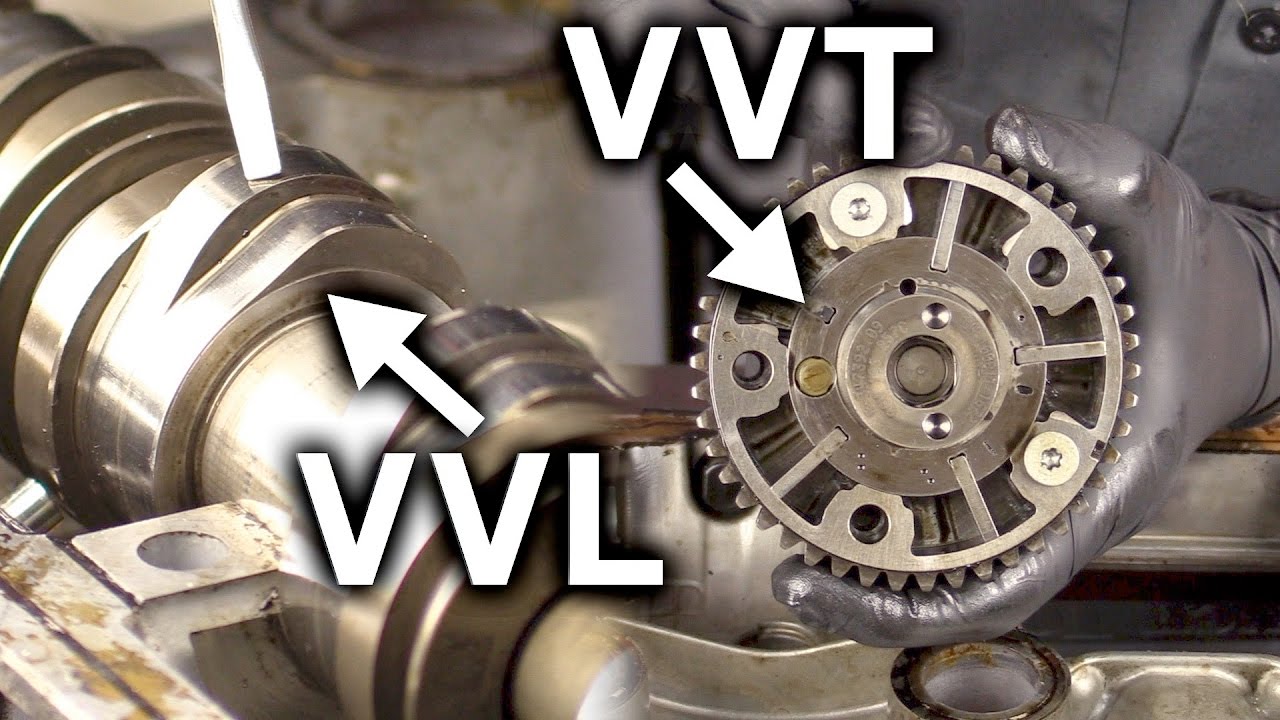
Engineering Explained: Variable Valve Lift vs Variable Valve Timing – VVL vs VVT
Engineering Explained distinguishes changes in camshaft timing from changes in valve lift. This helps clarify what the selected component controls. The video is a principles lesson and does not establish that intake and exhaust valves share a part number on any particular engine.
FAQ
Are intake and exhaust VVT solenoids always different?
No. Some applications share an approved part, while others use different references. The current catalog and service information for the exact engine determine the answer.
Does the same connector prove that two valves can be swapped?
No. Hydraulic routing, dimensions, sealing, mounting, and electrical characteristics also matter. Connector fit alone does not establish full compatibility.
Can I swap the valves to diagnose a timing code?
Only when the service procedure permits the comparison and the components are approved for the relevant positions. Preserve the baseline and follow the specified test conditions.
What information should I send with a replacement inquiry?
Send the VIN, engine code, production date, original reference, bank and camshaft position, and clear component photographs. Include any documented supersession and required installation parts.