A motorcycle fuel pump outlet leak requires stopping use and arranging safe inspection before the motorcycle is ridden again. Fuel at the pump area may come from an outlet fitting, quick connector, hose, flange seal or a crack in the housing, so the wettest visible spot is not always the source. Do not keep switching the ignition on to demonstrate the leak, tighten plastic fittings by guesswork, or cover a crack with adhesive. Identify the exact motorcycle and affected part, check any applicable recall by vehicle identification number, and use the manufacturer’s repair procedure.
Why a small leak changes the decision
A motorcycle can have exposed fuel-system components close to hot surfaces and electrical equipment. A small amount of escaping gasoline therefore needs attention even if the engine still runs normally. Smell alone does not locate a fault, but visible wetness, dripping or recurring fuel odor is sufficient reason to stop using the machine until it is assessed.
The CDC/NIOSH gasoline reference documents gasoline’s flammability and exposure hazards. Keep ignition sources away and avoid breathing concentrated vapors. If there is a significant spill, active fire or immediate danger, move people away and contact the appropriate emergency service rather than attempting a workshop diagnosis.
Arrange transport rather than riding to prove that the motorcycle can still complete a trip. Do not start the engine solely to find the leak. A workshop can determine how to reproduce the condition safely using the prescribed controls and equipment. The general fuel-pump failure guide covers delivery symptoms; external leakage is a separate acceptance issue and cannot be dismissed because delivery remains satisfactory.
Identify the connection before touching it
“Pump outlet” can describe several different areas. There may be a molded spigot, threaded connection, quick-release coupling, hose connection or a separate distributor. A tank-to-module flange seal is another potential source. Distinguish these parts before choosing a repair kit or discussing replacement with a supplier.
Photograph the assembly in place from a safe position before dismantling. Record where wetness first appeared, whether the machine had recently been serviced, and whether the problem occurred while parked or during operation. Do not deliberately energize the system to obtain a more dramatic photograph. Existing observations and the service history can guide the professional inspection.
Check the exact model year and fuel-system variant. Parts that share a general appearance may use different connector retention, sealing materials or routing. A spare coupling advertised for a similar motorcycle is not automatically suitable for the pressure, fuel or geometry of the system being repaired.
Separate likely locations with a controlled inspection
This table describes inspection questions rather than a do-it-yourself pressure test. It does not assign a fault from appearance alone. Fuel can travel along a surface or collect in a recess before becoming visible somewhere else.
| Visible area of concern | What the workshop should distinguish | Repair decision depends on |
|---|---|---|
| Hose-to-fitting junction | Hose damage, correct hose type and retention | Approved hose and connection procedure |
| Quick connector | Incomplete engagement, damaged retention or seal | Exact coupling design and serviceability |
| Molded outlet base | Surface wetness versus an actual housing crack | Approved housing or module replacement scope |
| Module-to-tank perimeter | Flange seal, seating and tank surface condition | Specified seal, installation and fastening method |
| Fuel collected near wiring | Original leak path versus secondary pooling | Source tracing and affected-component inspection |
| Repeated leak after an earlier repair | Unresolved damage, application mismatch or campaign issue | Vehicle history and current manufacturer instructions |
The distinctions are supported by a documented manufacturer case, BMW Motorrad recall 20V-471 instructions, which discusses specified fuel-pump flange and coupling conditions. Use that document only for its stated motorcycles and campaign; it does not identify the failure mode of the Yamaha-reference product pictured in this article.
Check recall coverage using the actual vehicle
A recall is defined by the vehicle population and campaign instructions, not by a photograph that resembles the leaking part. Obtain the vehicle identification number and check the official vehicle or manufacturer recall service for the relevant market. Ask the dealer to confirm whether a campaign is open and what prior work is recorded.
For a government example, Transport Canada recall 2020-437 describes a fuel-pump flange crack on certain BMW motorcycles and specifies a replacement remedy for the affected population. That is useful evidence that housing leakage can require component replacement; it is not a recall claim about every motorcycle pump.
Keep the difference between symptom diagnosis and campaign eligibility clear. A motorcycle outside a recalled population can still develop a leak requiring repair. A vehicle inside a population still needs its campaign status checked against its individual history. Neither a seller’s reassurance nor an old repair receipt substitutes for current vehicle-specific confirmation.
If the motorcycle has already received a repair, provide that date and repair description to the workshop. Do not assume an earlier ring, seal or coupling repair permanently rules out the area. Equally, do not remove or modify a previously repaired component before the authorized repairer has reviewed the evidence and any applicable instructions.
Avoid repairs that conceal the failed surface
Adhesive patches and improvised clamps can hide a crack without establishing structural integrity or fuel compatibility. A dry appearance after a patch is not an approved leak test and does not show how the part will behave through vibration, temperature change or repeated connection handling.
Do not apply extra tightening force to a plastic outlet because it feels loose. The actual problem may be a seal, retention feature, incorrect part or damaged housing. Additional force can damage a fitting or alter the evidence. Use the specified inspection and fastening method for the exact connection.
Likewise, do not substitute thread tape, sealant or a generic O-ring unless the manufacturer explicitly permits it for that location. Some connections seal at a dedicated surface rather than at the thread. Adding material in the wrong place can interfere with seating or introduce debris into the fuel system.
Where a seal or connector is separately serviceable, obtain the correct approved part and installation requirements. Where it is integral to the housing, the permitted repair may require a larger assembly. The decision should come from the parts and service information, not from a general preference for the cheapest or most extensive replacement.
Protect the assembly during removal and refitting
The workshop should depressurize and drain or contain fuel using the vehicle’s specified procedure and suitable equipment. Fuel should not be drained into an open improvised container. Clean the surrounding area before opening the tank so that dirt does not fall onto sealing surfaces or into the fuel supply.
Support the tank and hoses as required. Do not let a lifted tank hang from its fuel connection or use the outlet as a handle. Side load during access work is a separate risk from normal service operation and should be considered when a leak first appears after maintenance.
Inspect affected wiring, connectors and nearby materials where fuel has collected. Replacing a leaking fitting does not automatically resolve secondary damage. Document what was wetted and follow the manufacturer’s assessment requirements rather than assuming that evaporation alone makes every surrounding component acceptable.
The following MC Garage educational video shows motorcycle pump access and handling in the context of cleaning. Use it to understand the assembly’s location and careful handling, not as an approved method for repairing a cracked outlet. The exact motorcycle’s service manual remains the source for disconnection, pressure control and reassembly.
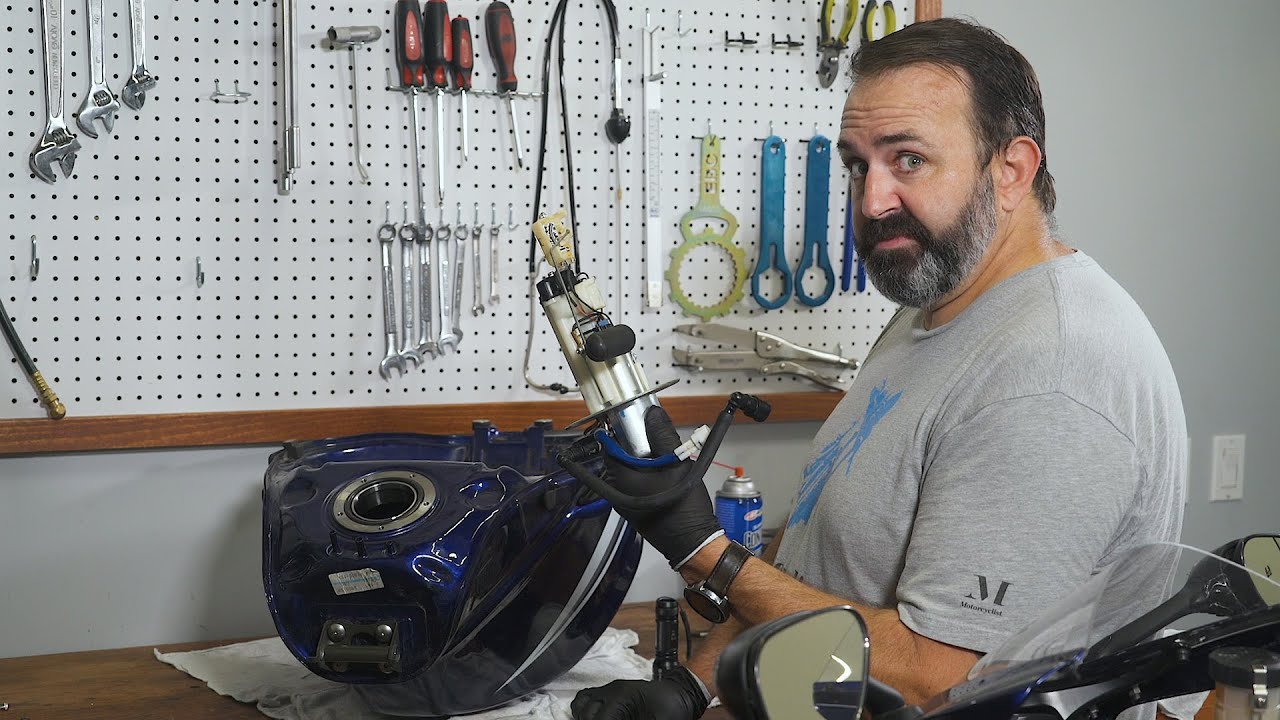
Motorcyclist Magazine: How To Clean Your Motorcycle Fuel Pump | MC Garage
Specify the correct replacement scope
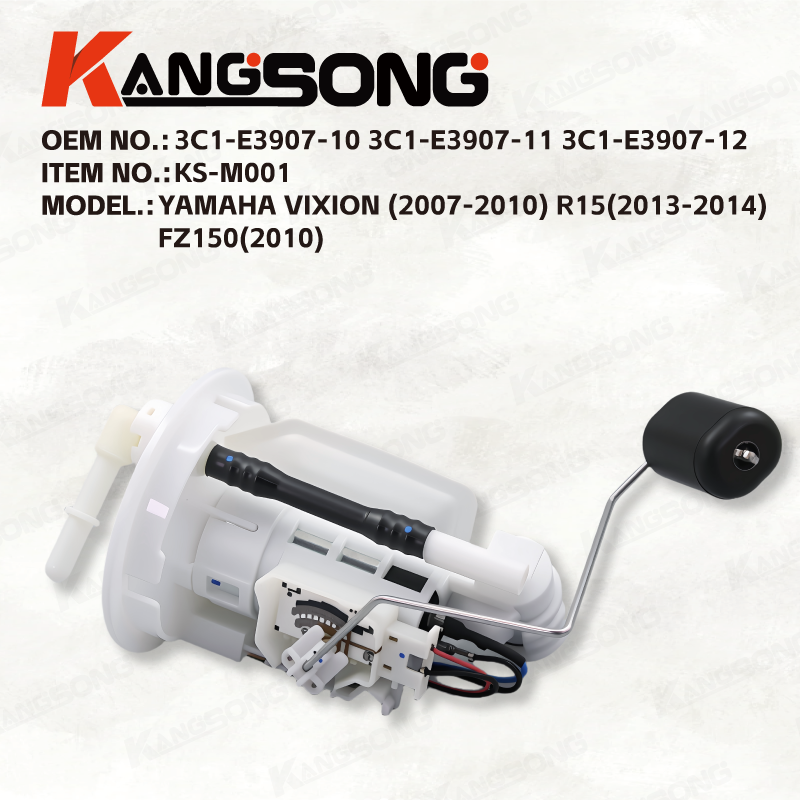
The 3C1-E3907 reference motorcycle pump assembly provides a real website product example with a compact flange, body, wiring and float arrangement. The illustration does not show a failed unit and makes no claim about its recall status, pressure rating or suitability for another motorcycle.
For a replacement inquiry, provide the original reference, vehicle model and year, connection photographs and the confirmed leak location. Specify whether the required item is a coupling, seal, housing or complete assembly. Include any suffix and market variation identified by the vehicle catalog.
Ask what seals, retainers or one-time-use parts the installation requires and confirm whether they are supplied. Do not infer that a complete assembly includes every disturbed connection part. Our fuel-pump gasket guide discusses the separate sealing subject; gasket selection still needs the exact application.
If the leak followed recommissioning after storage, review that history without assuming stale fuel caused a housing crack. The motorcycle fuel-pump storage article addresses fuel preparation and restart checks, while this page focuses on external leak location and repair scope. Keeping those questions separate helps avoid an unsupported failure claim.
Require a documented leak-free acceptance check
After repair, complete the manufacturer’s prescribed connection, sealing and operating checks before returning the motorcycle to service. Access panels should not hide the connection before the relevant inspection is finished. Record the conditions checked and the parts renewed.
One dry observation with the ignition off does not establish that an operating leak has been corrected. Conversely, the workshop should not improvise repeated pressurization simply because the first check is inconclusive. Use the defined procedure, stop if fuel reappears, and resolve the source before release.
The final report should identify the actual leaking component, the approved remedy and the verification performed. If the source could not be reproduced safely or a required component is unavailable, the motorcycle remains unresolved. A temporary reduction in smell is not sufficient evidence that it is ready to ride.
FAQ
Can I ride with a small leak at the pump outlet?
Stop using the motorcycle and arrange safe inspection and transport. A small fuel leak can still create a fire hazard.
Is the wettest spot always the failed part?
No. Fuel can run along hoses and surfaces or collect in a recess. The workshop must trace the source under controlled conditions.
Does a fuel-pump recall apply to every similar-looking pump?
No. Coverage depends on the vehicle and campaign population. Check the vehicle identification number with the official service for your market.
Can I seal a cracked outlet with glue?
Do not treat an adhesive patch as an approved repair. Use the vehicle manufacturer’s specified repair or replacement method and acceptance checks.